
As a thought experiment, I wondered if it was possible to design, develop, and launch a custom website from my phone, without touching a tablet or computer.
Spoiler alert: I could.
In fact, not only was it possible to build a website from my phone, but I was able to do it in less than a couple hours of research and work, using only free apps. The following post will give you the step-by-step on how to launch your own mobile-only website.
For this experiment, I used an iPhone 4 running whatever the last version of iOS was it supported. I didn’t use any external displays or input devices.
Preparation
There are a few things you’ll need to prepare in advance of actually building your site, and all can be accomplished from your phone. Just as with any website you’re building, you’ll need to:
- Purchase a web host
- Create a database and a database user
- Give SSH access to your host user
- Download an app for SSH access
- Optionally, purchase and configure a domain
- Optionally, download an app for web inspection (to view source on your website, for theme development and bug testing)
- Optionally, download an app for photo editing
- Optionally, take and edit some photos for theme artwork
Hosting
I have a GridServer account with MediaTemple I use for my sandbox experiments. I prefer it because I can easily create a new site and DNS zone without buying another domain or adding cost.
As an added bonus, MediaTemple launched a new mobile interface for their account center in August of 2014—making this experiment that much easier.
My environment is a standard LAMP stack with phpMyAdmin.
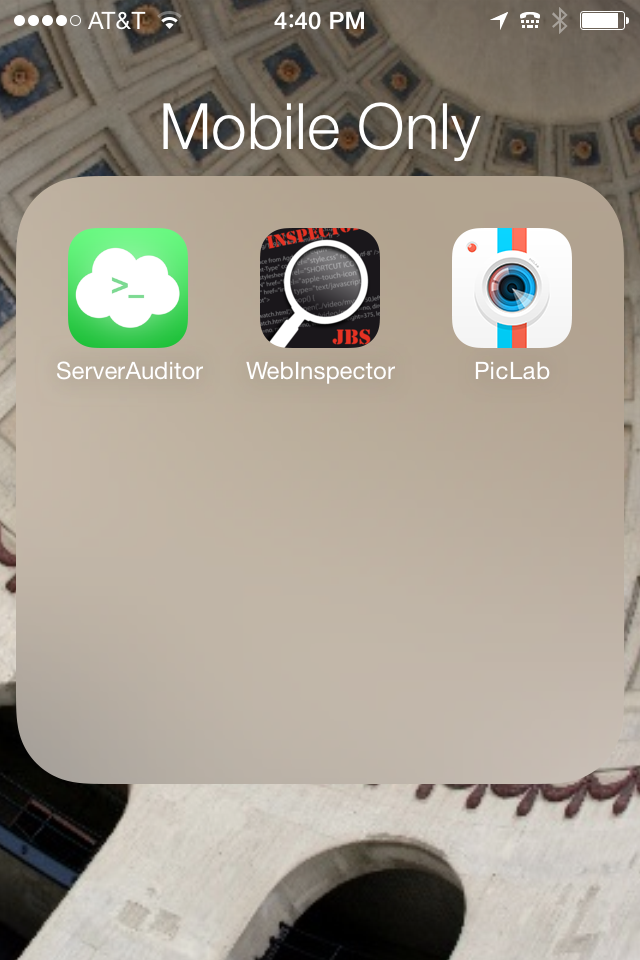
Apps
ServerAuditor (iOS, free)
This free app replicates the functionality of your Terminal command line and will let you connect to your host to do the initial file management and installations.
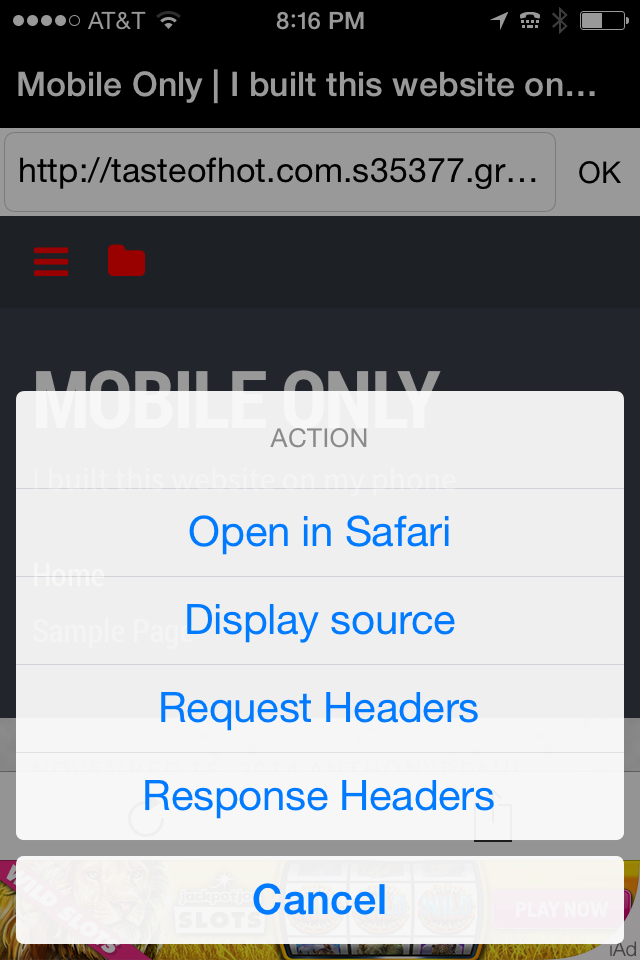
WebInspector (iOS, free)
This free app is just a front-end source viewer. I’m sure there are better alternatives, but it was the first one I found that allowed me to view source on my website, to make some theme customizations.
PicLab (iOS, free)
There are many free photo editors. This was simply the first I grabbed. It allowed me to crop and adjust a photo from my phone, to create theme artwork.
Selecting a CMS
If you want to be old school, you already have everything you need above to get started. You could SSH into your server, create an HTML file, and compete with tilde.club. However, the point of my experiment was to see if I could build a website of high enough quality to sell to a client.
WordPress (MySQL/PHP, free)
I selected WordPress for this experiment for a variety of reasons including my intimate familiarity with it and the fact it plays nicely with my existing hosting environment. Most importantly though, WordPress is the most progressive of the open source content management systems in having self-contained extension and update management, which was critical in this early experiment. Here are just a handful of the many native features that helped:
- Mobile-friendly admin area (2013, v3.8)
- Automatic core updates (2013, v3.7)
- Live previews for themes (2012, v3.4)
- Theme browser and installer (2009, v2.8)
- One-click core update system (2008, v2.7)
- Plugin browser and installer (2008, v2.7)
- Theme and plugin text editors (2005, v2.0)
WordPress also keeps a latest stable version URL to make it easy to directly install to your host without having to download and upload files to your host—i.e., they never land on your cellphone’s hard drive.
Installing WordPress via SSH
In this section, we’ll be directly copying the latest WordPress archive from wordpress.org to your host. Then you’ll unpack the archive, move the files within the WordPress directory up to your web root, and finish with some file cleanup.
Warning: If you’re new to the Terminal, be warned the command line can be dangerous if you don’t know what you’re doing. If you’re working in a live production environment, at minimum you should be making a backup of everything.
Have your credentials ready:
- Your development server URL
- Your SSH username and password
Step 1: Transfer and unpack WordPress
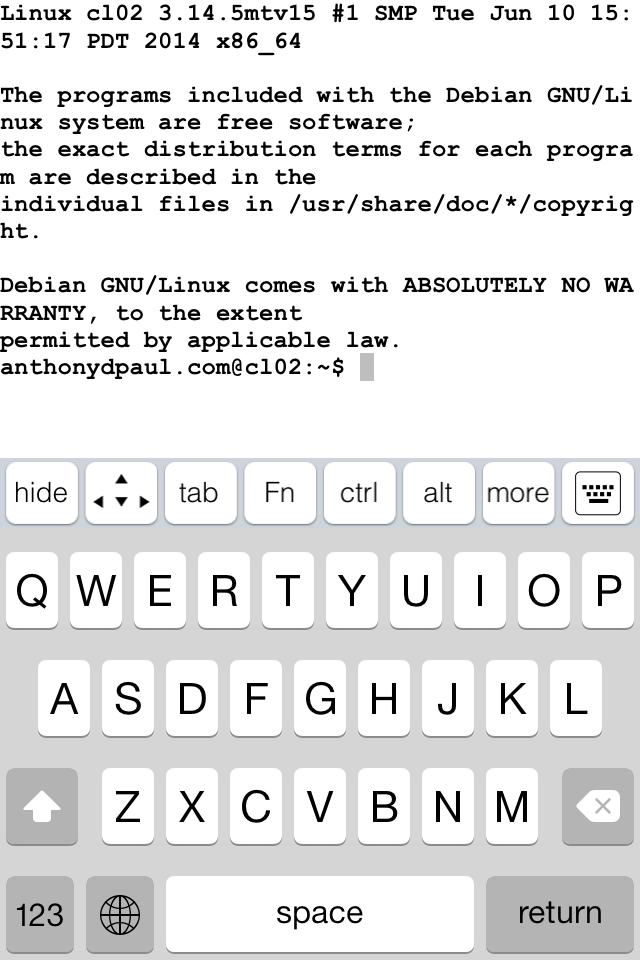
Launch ServerAuditor and connect to your server. The welcome screen has the ability to add a new connection and save the bookmark, or to “quick connect” without saving. I recommend saving a bookmark.
After adding your login and server credentials, you should be at the command prompt.
Before we jump in, there are some basic Terminal commands to know:
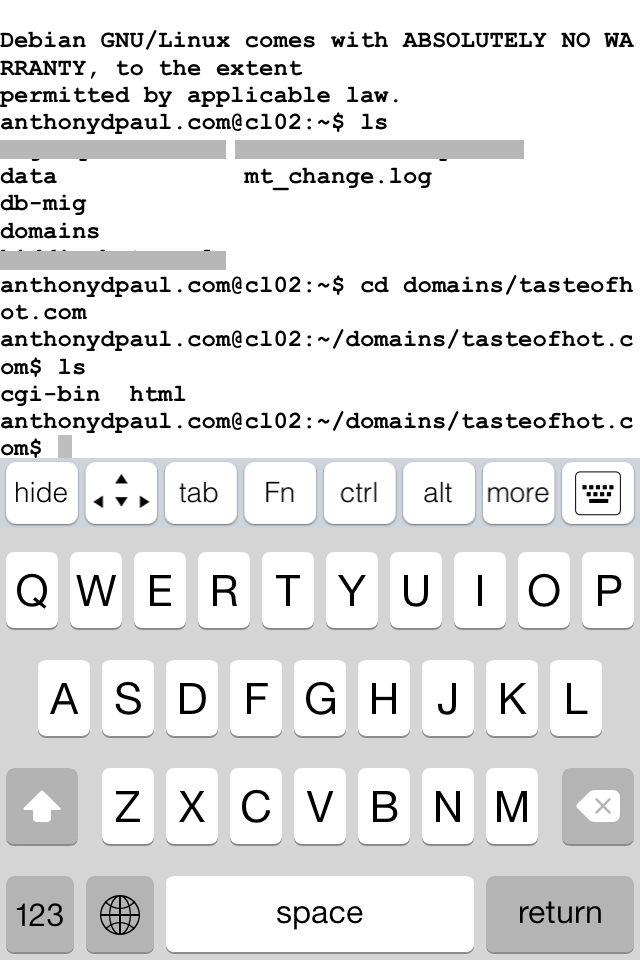
- ls = lists all files in your current directory
- cd = changes directories and is given paired with a directory command like “cd ..” to move to the parent directory, or “cd wordpress” to move down into the WordPress directory relative to your current position—i.e., you would see /wordpress/ listed if you ran the “ls” command.
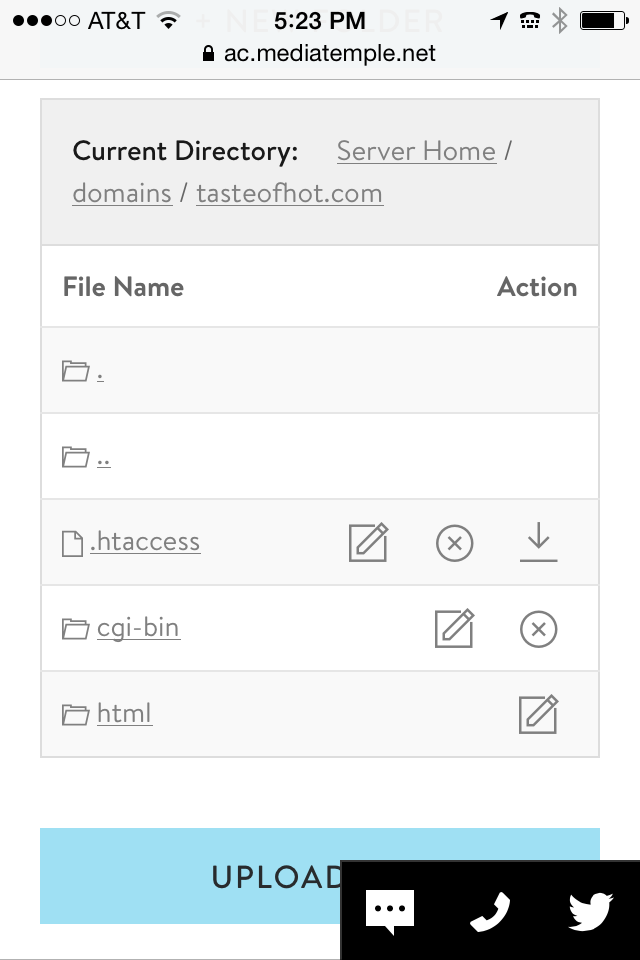
In my case, I need to change directories from my user directory down into my sandbox domain’s web root:
cd domains/tasteofhot.com/html
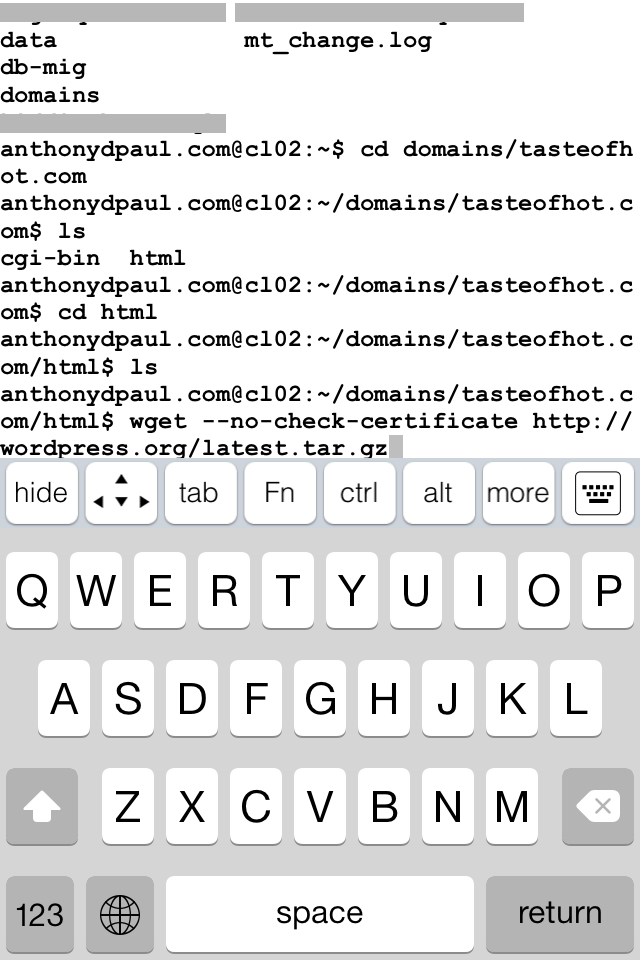
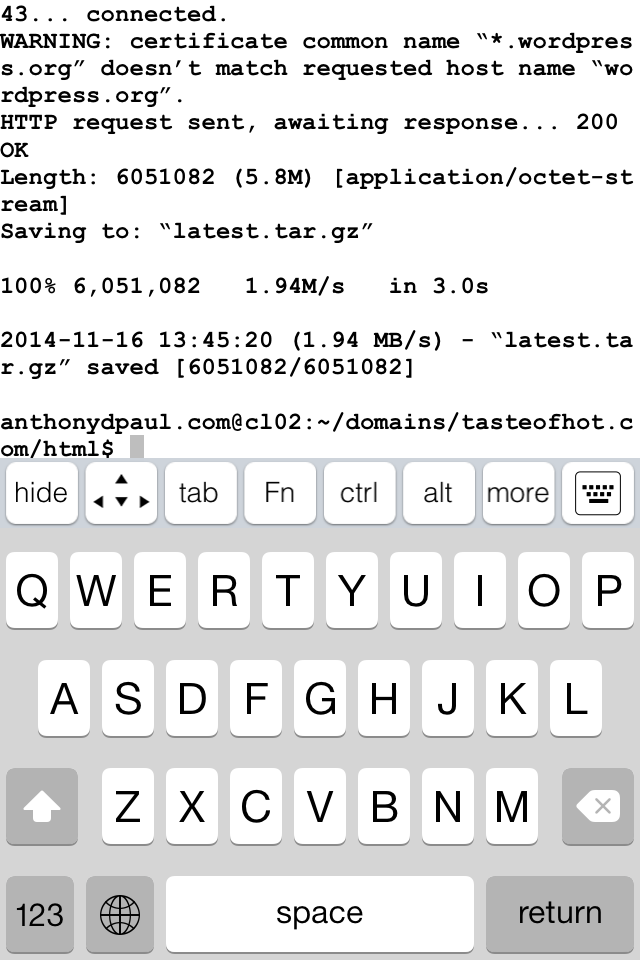
Now we grab the latest WP archive from their server:
wget ––no-check-certificate http://wordpress.org/latest.tar.gz
Note the “-–no-check-certificate” may not be necessary for you. I needed it to mitigate an error message I was getting from MediaTemple.
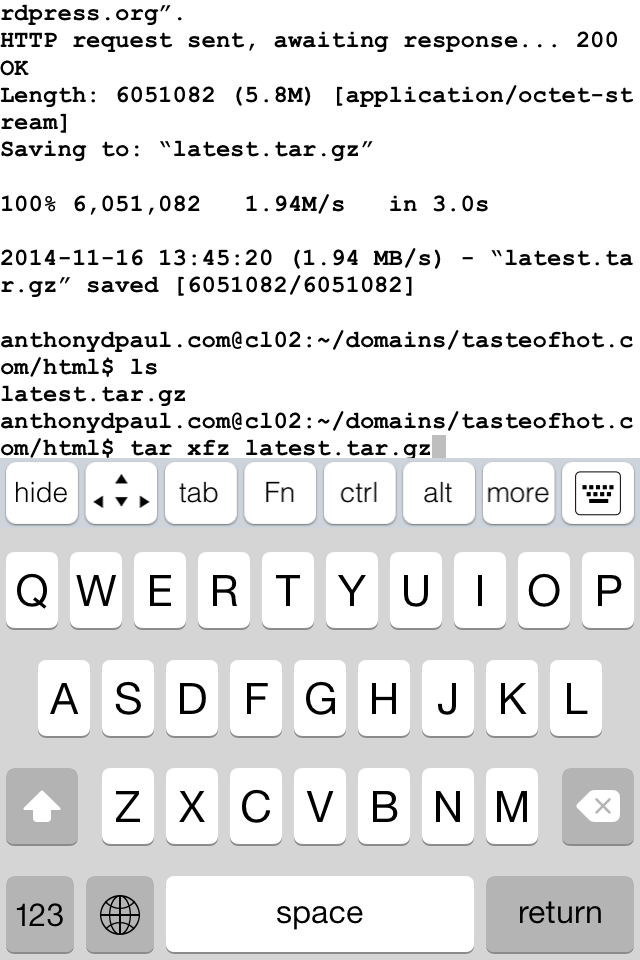
If you “ls” from here, you should now see the latest.tar.gz file in your file listing.
Unzip the archive:
tar xfz latest.tar.gz
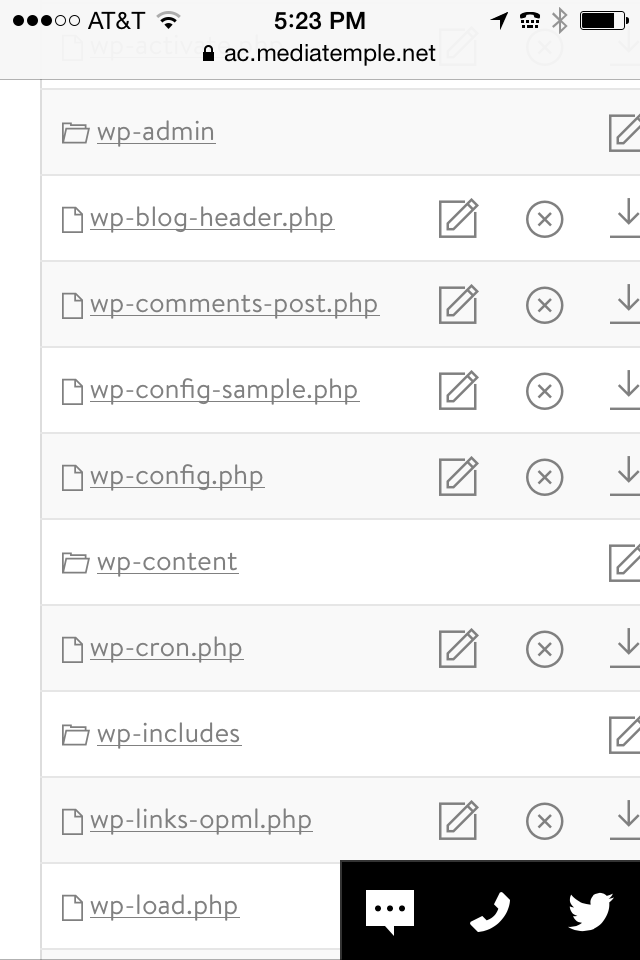
If you “ls” again, you should see a new /wordpress/ directory in addition to your archive.
Change directories into the new /wordpress/ directory:
cd wordpress
Move all of the contents of the /wordpress/ directory up a directory to your web root:
cp -rpf * ../
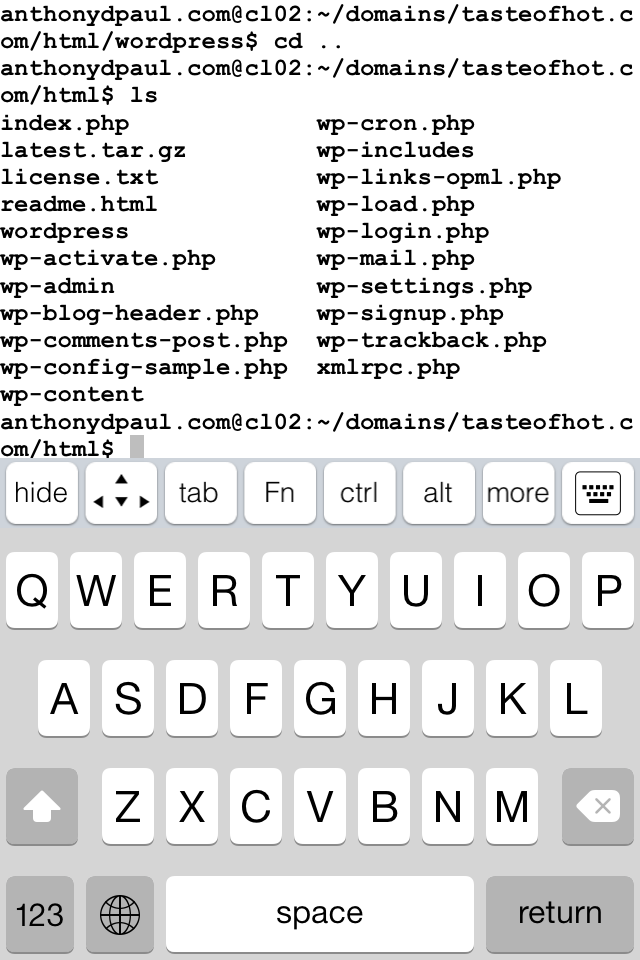
Change directories to get out of the /wordpress/ directory and into the parent web root:
cd ..
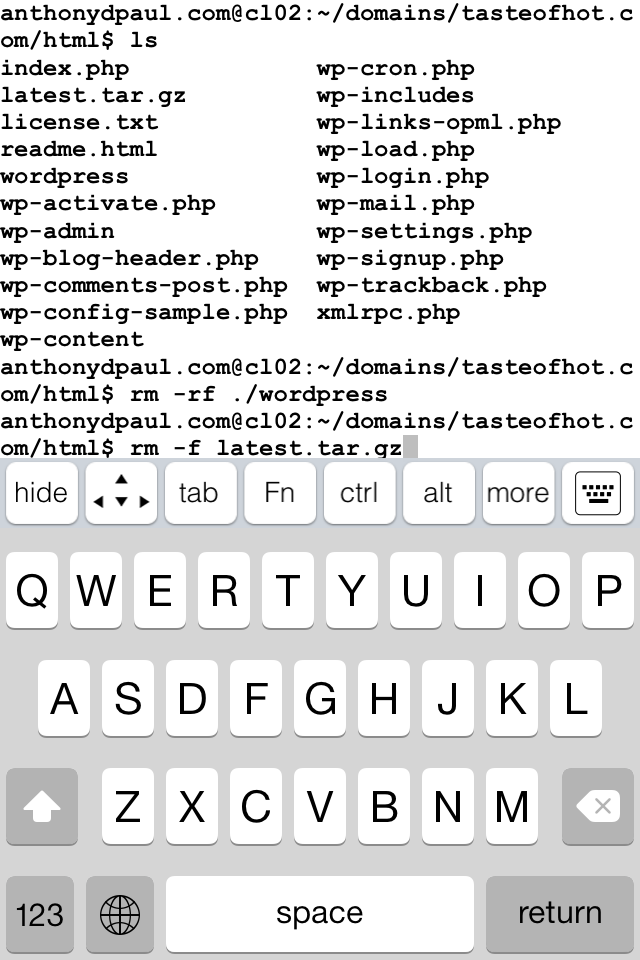
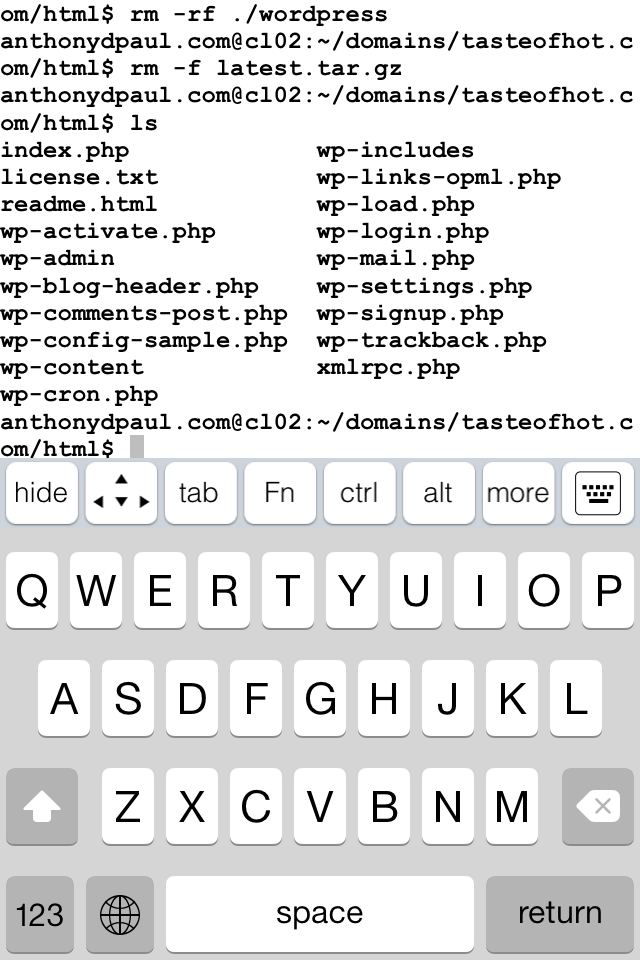
Delete the empty /wordpress/ directory:
rm -rf ./wordpress
Delete the packaged WordPress archive:
rm -f latest.tar.gz
Now your web root is ready for the famous 5-minute install.


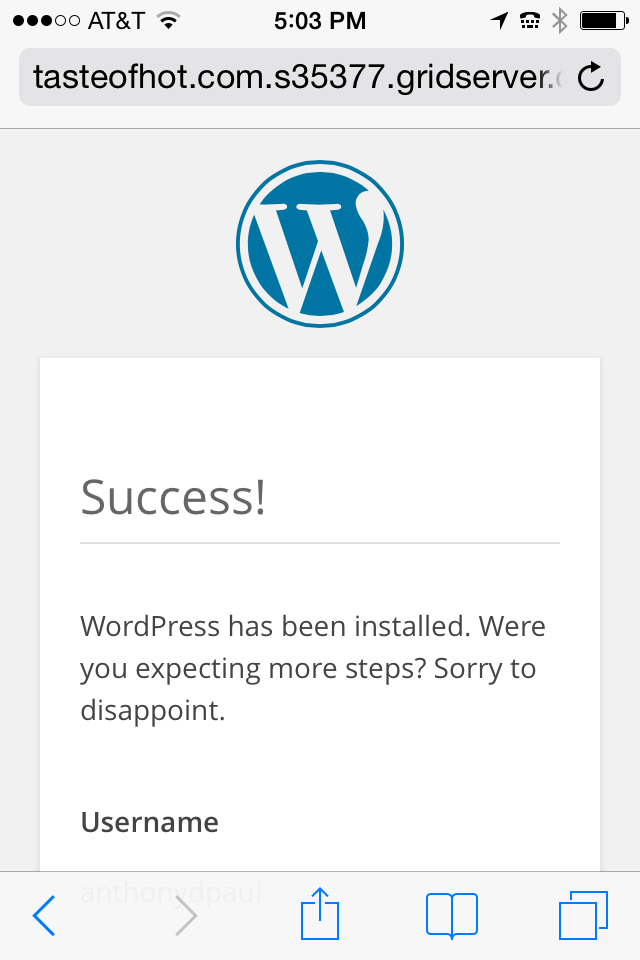
Step 2: Install WordPress
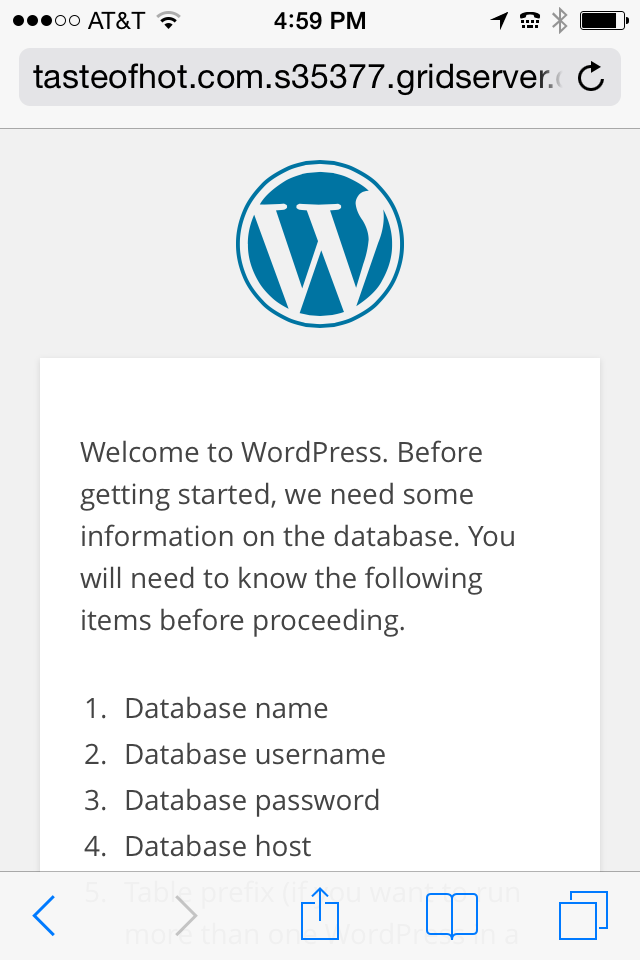
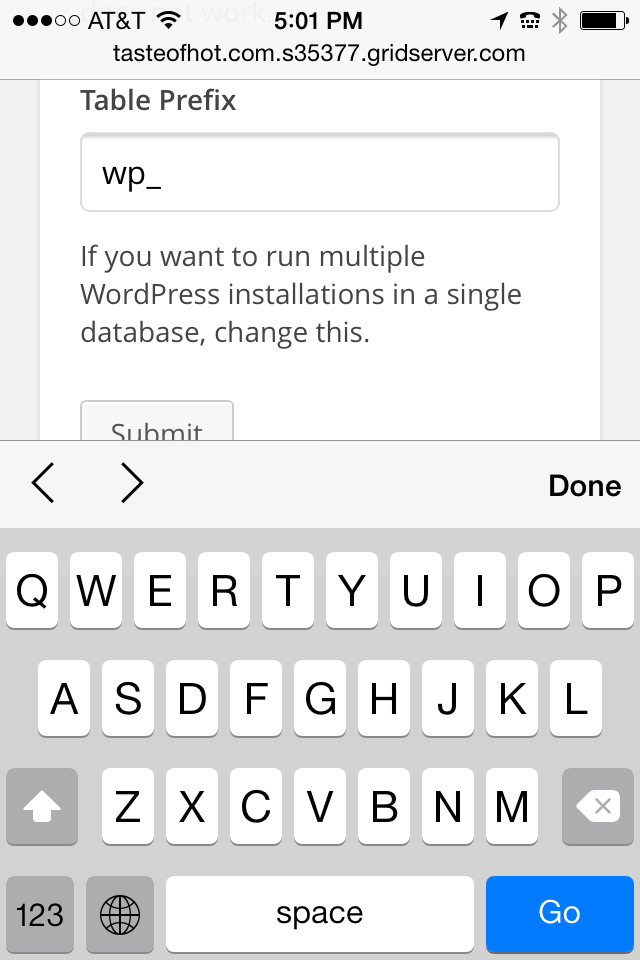
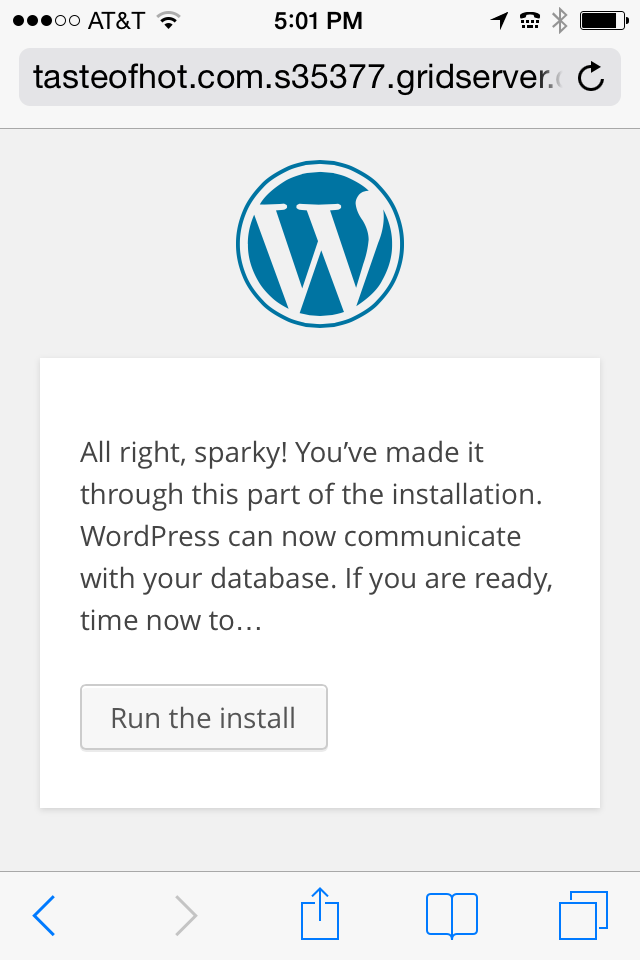
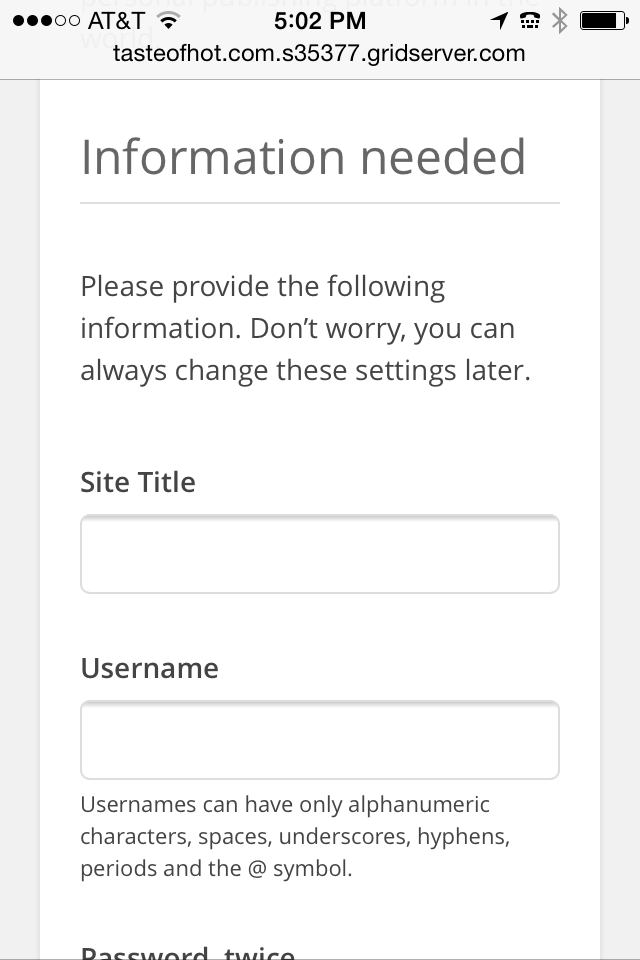
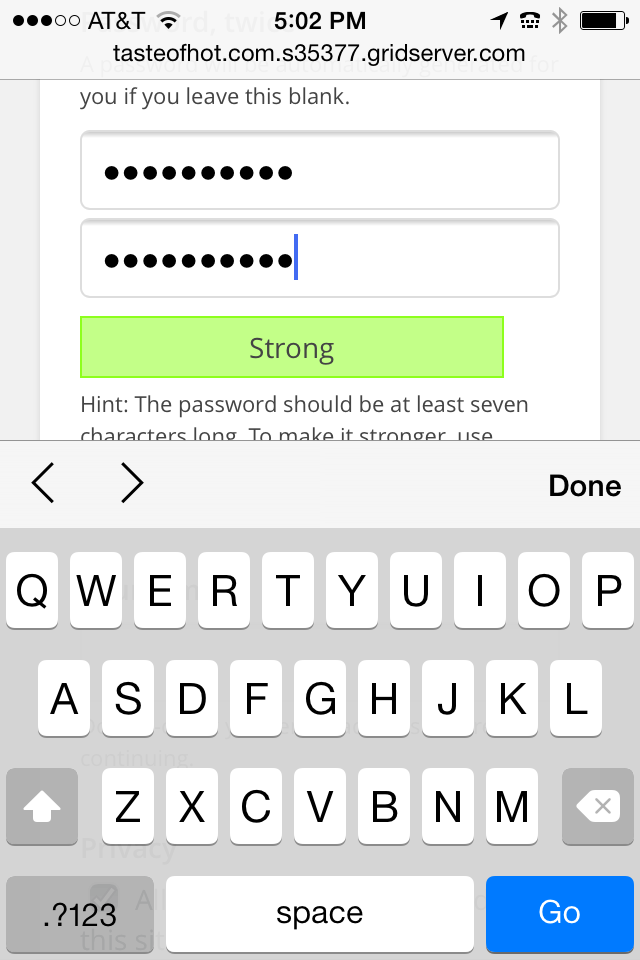
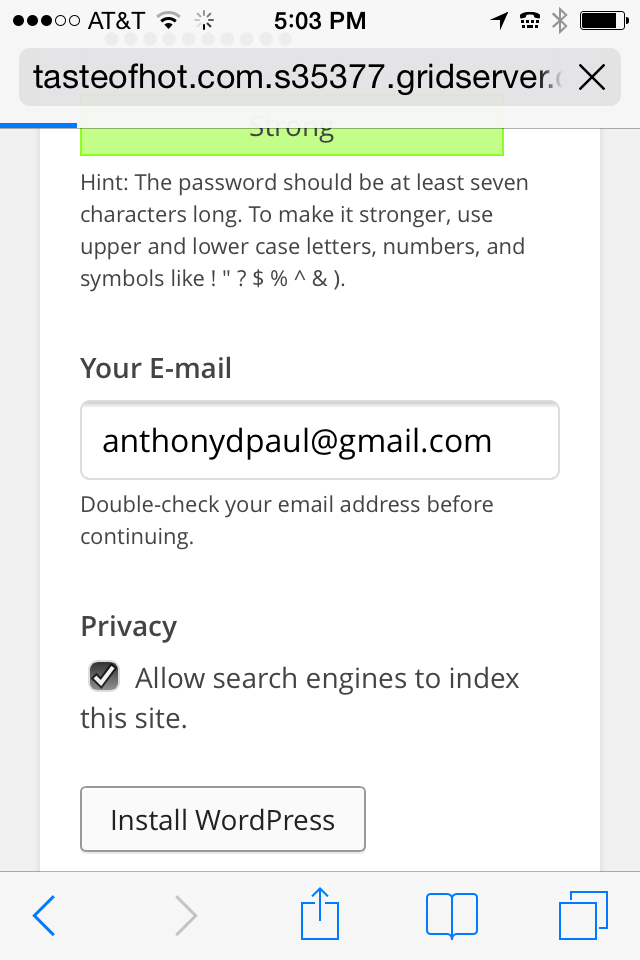
The shortest step, WordPress has a pretty simple install interface that will walk you through in a jiffy.
Have your credentials ready:
- Your database and host names
- Your database username and password
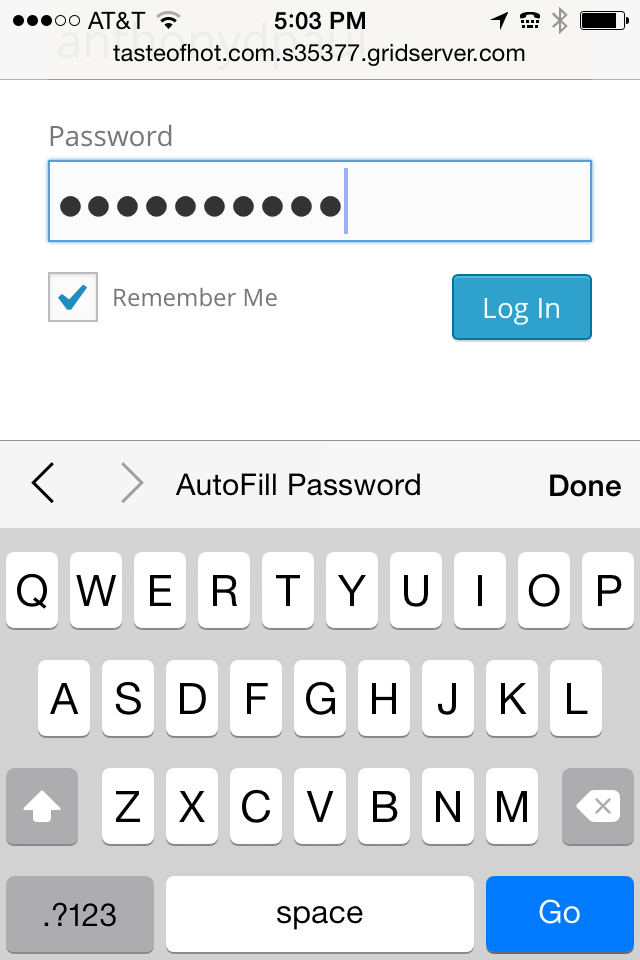
In Safari, or another mobile browser, browse to your dev server. Follow the WordPress on-screen instructions, then log in with your new username and password.


Step 3: Permission server for uploads
This may or may not be the case for everyone, but in the way I unpacked WordPress, I discovered my theme and plugin directories weren’t permissioned correctly for direct uploads and installs.
If you want to test your permissions first, skip to the next section and attempt to install a theme. If the theme installs successfully, you don’t need to modify permissions.
To fix permissions, log back into your SSH app and reconnect to your host.
Change directories to your root WordPress directory
cd domains/tasteofhot.com/html
List the files to make sure you’re in the correct directory and can see the /wp-content/ folder but are not in it.
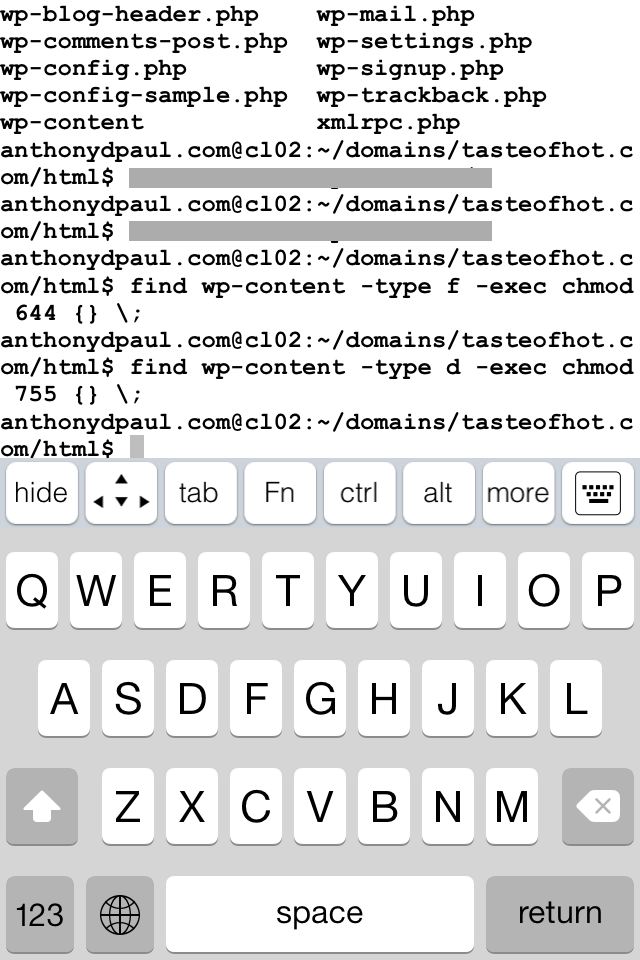
Change all the directories within wp-content to 755 (-rwxr-xr-x):
find wp-content -type d -exec chmod 755 {} \;
Change all the files within wp-content to 644 (-rw-r-–r-–):
find wp-content -type f -exec chmod 644 {} \;

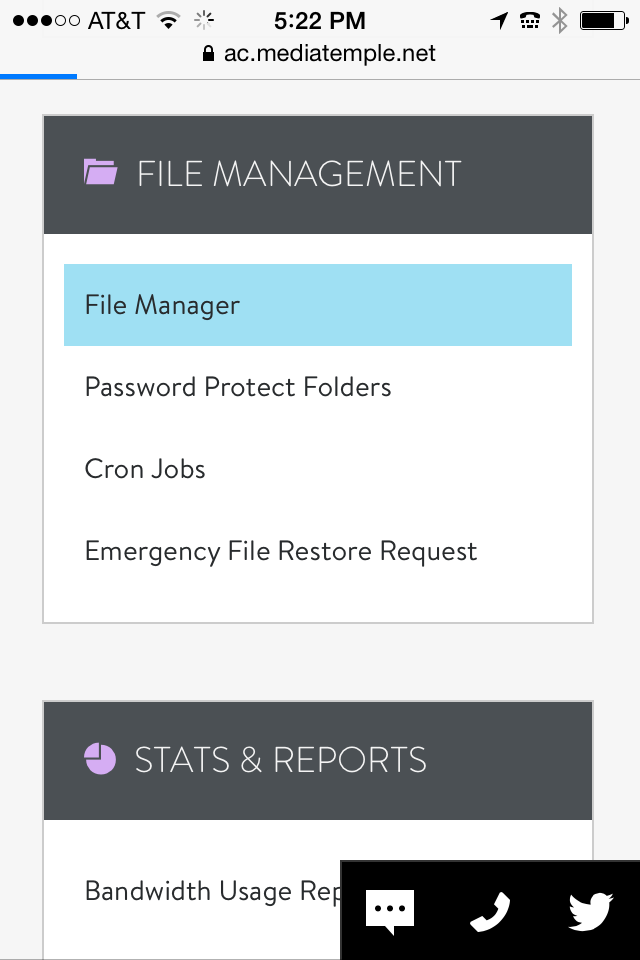
Alternately, you can manage permissions via the MediaTemple file manager in the Account Center. The trouble with this approach is it seems to be missing a recursive feature—i.e., you have to set permissions on each file and folder individually.

Customize your website
For this experiment, I wasn’t about to develop an entire theme from scratch because—well, nobody does that anymore. There are an abundance of amazing responsive themes and WordPress has built-in tools for browsing, previewing, installing, and configuring.
I did, however, want to show that custom theme development is an option, so I went ahead and forked a “parent” theme to create a child theme and modify its code as a proof-of-concept. (It’s best practice to not modify the parent theme directly, to allow for system updates.)
Step 1: Find and install a parent theme
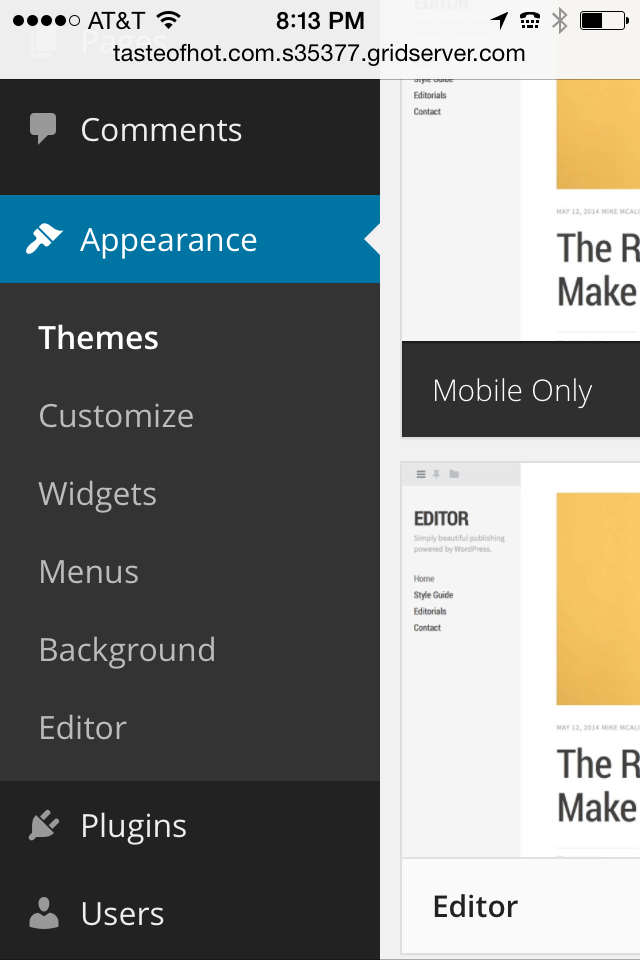
Under your administrative menu in Appearance > Themes, you can browse featured or popular themes. There are even search tools if you have specific criteria, but those search tools are primarily relevant for desktop sites—i.e., the number of columns.
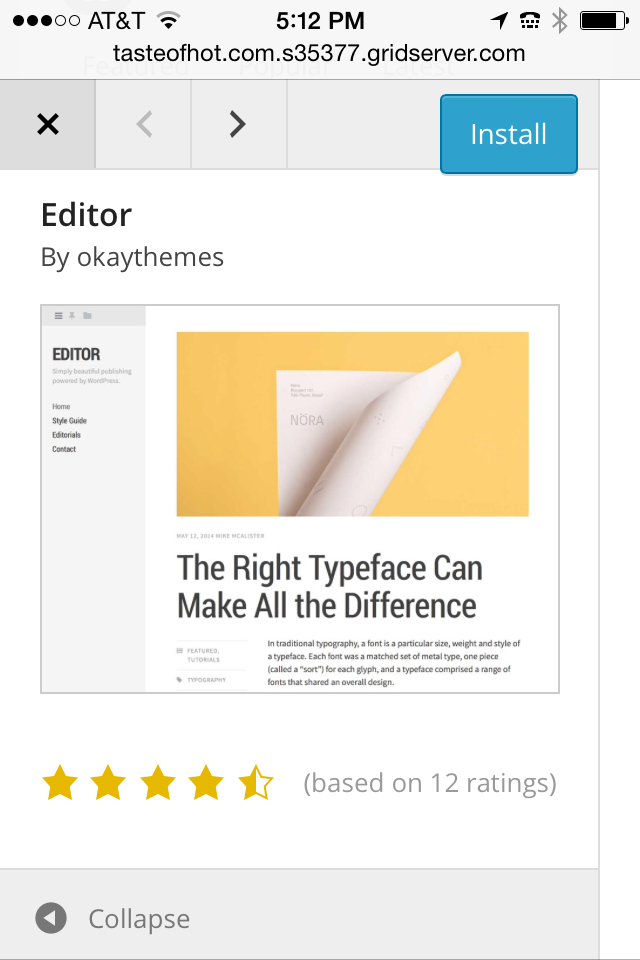
I have a theme I’ve already used that I quite like the simplicity of, so I went ahead and searched for “Editor” as my parent theme.
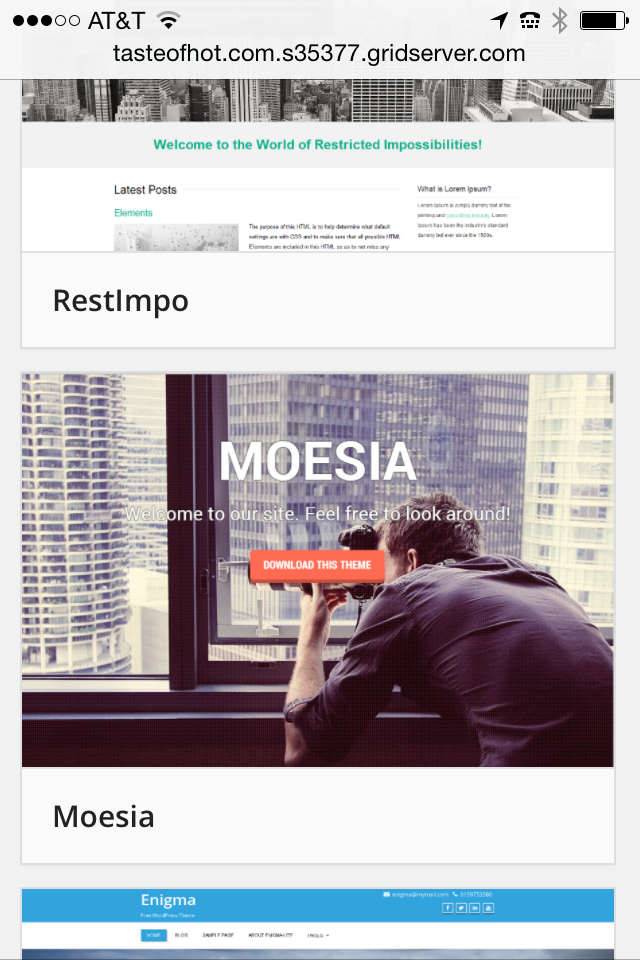
Tips when reviewing mobile-only themes:
- Thumbnails – Unfortunately, the thumbnails for WordPress themes are desktop screenshots, so they are less relevant for mobile-only shopping. However, when you select a theme, you can preview it.
- Collapse Info – The way the theme previewer is laid out, the desktop info sidebar for the theme’s information appears to be the entire layout on mobile. There’s a collapse button at the bottom and it is a bit finicky on mobile. However, if you click it a couple times and are patient, it will hide the sidebar so you can see the theme.
- Responsive – If the theme does not look right on mobile, it is not responsive. Move on to the next one. If you switch away from featured or popular, chances are it is an older theme that isn’t as responsive.
- Usability – Focus on layout you like and ignore artwork, fonts, or colors. It’s relatively easy to correct those and your mobile-only audience is more interested in utility than beauty.
- Load Time – If the theme seems slow, it probably will be for your users also. Pass.
- Live Preview – To preview a theme with your content in it, you have to first install the theme. You can preview it without having to enable it.
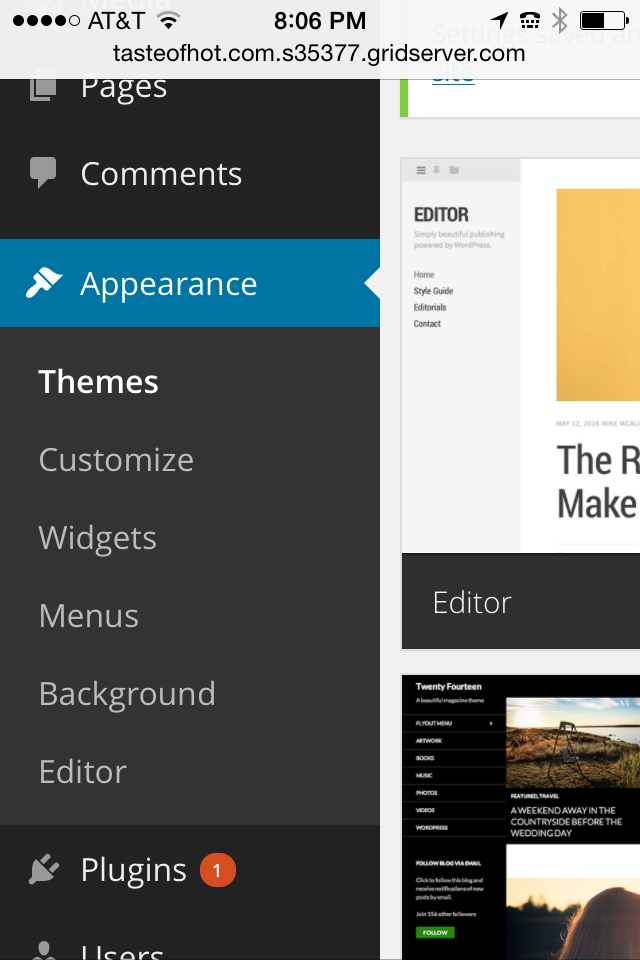


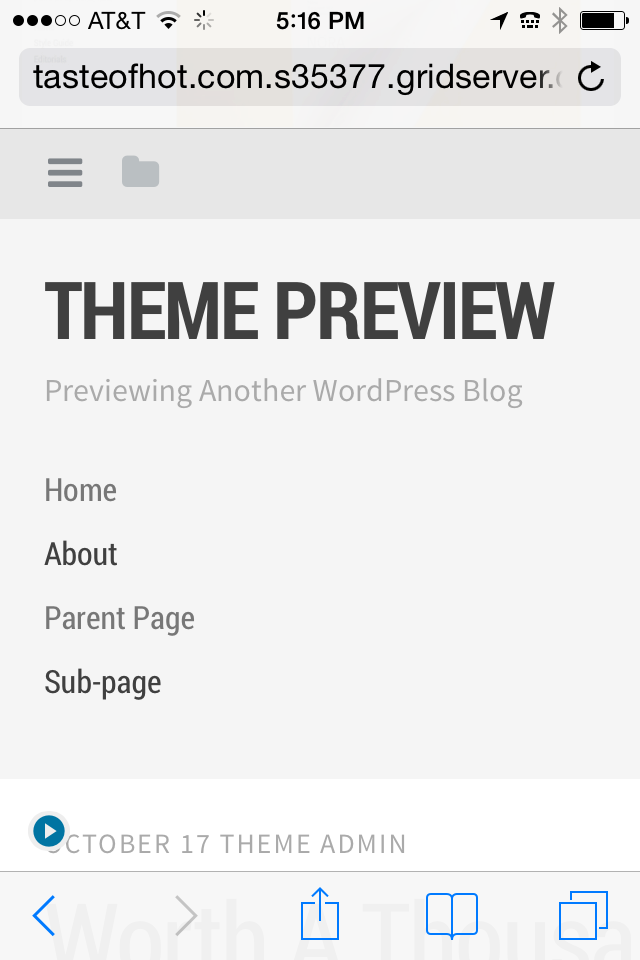

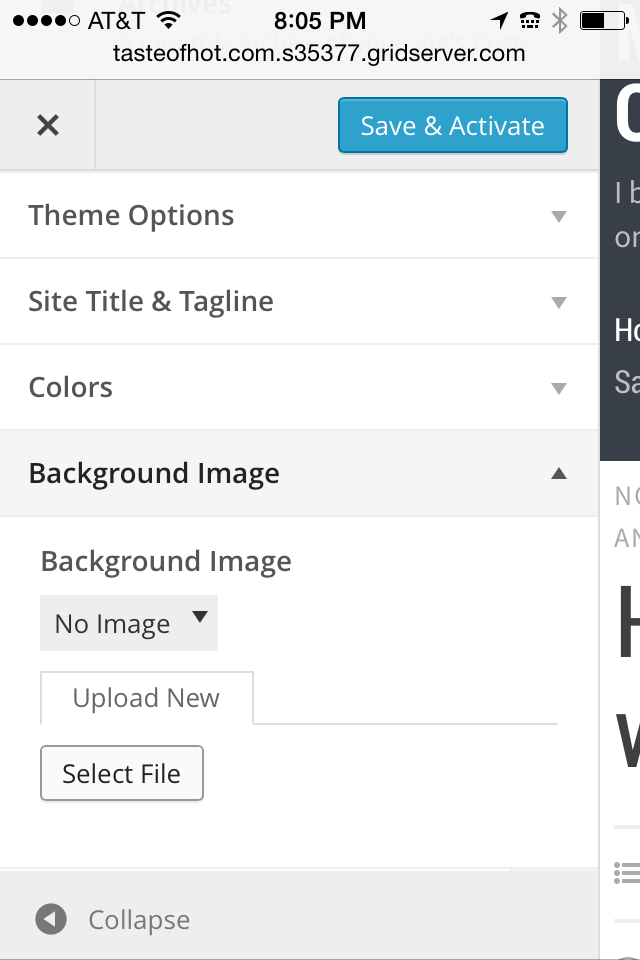
After installing the parent theme, you can preview it with your own content and set a bunch of your site settings through the theme configuration before enabling it.
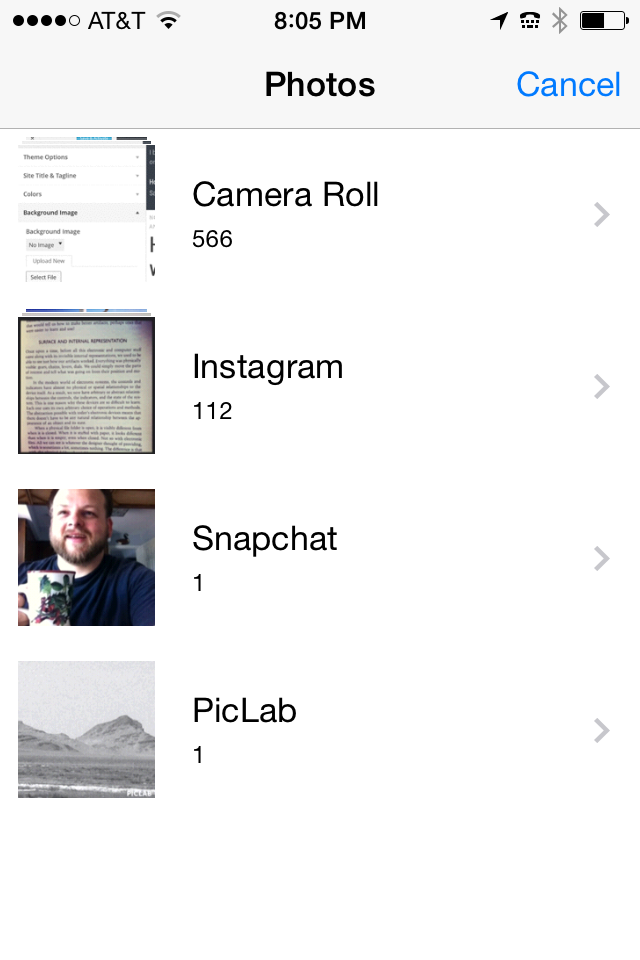
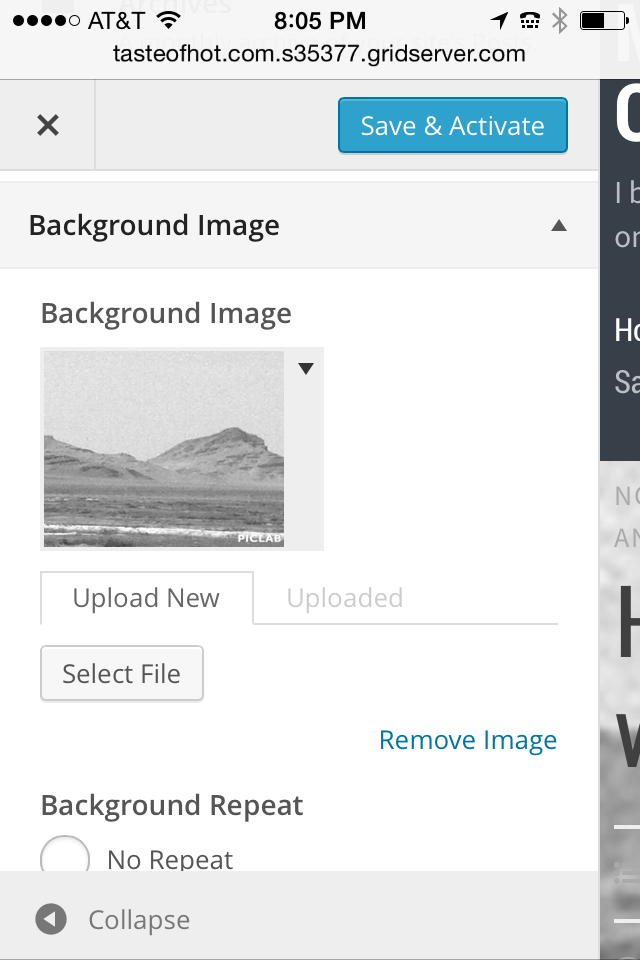
Enable the parent theme and optionally create any artwork for the theme in PicLab (or other app) while you are at it. You may need to reselect some of this content after you create your child theme, but if you’re trying on this parent theme for the first time, it’s worth the preview.


Step 2: Create a child theme
Now that we have a usable parent theme, let’s create a custom child theme. There are a few ways to do this. If you already have an FTP or other file management app, you can duplicate the theme directory there. You could use the MediaTemple (or equivalent) Account Center’s file manager. You could even turn back to your SSH app. However, I’m trying to show how this can be done by non-developers, so I used a WordPress plugin called Child Theme Configurator.
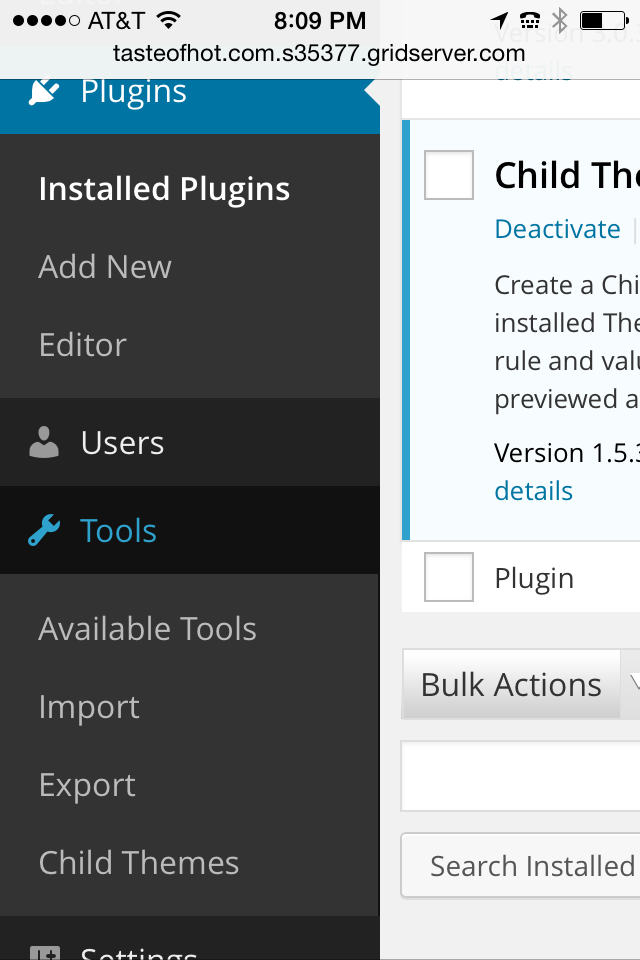
Add any necessary plugins:
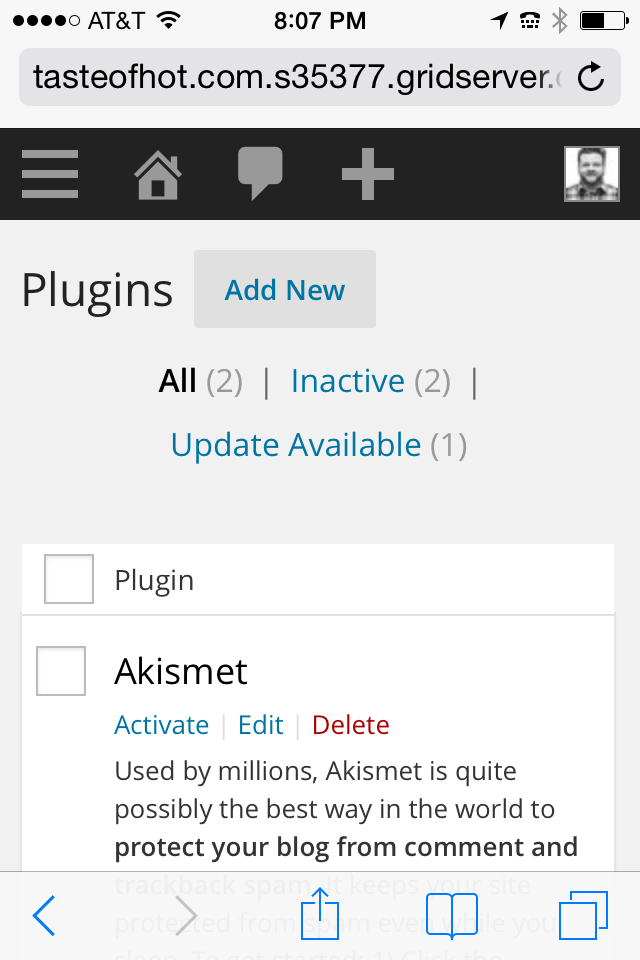
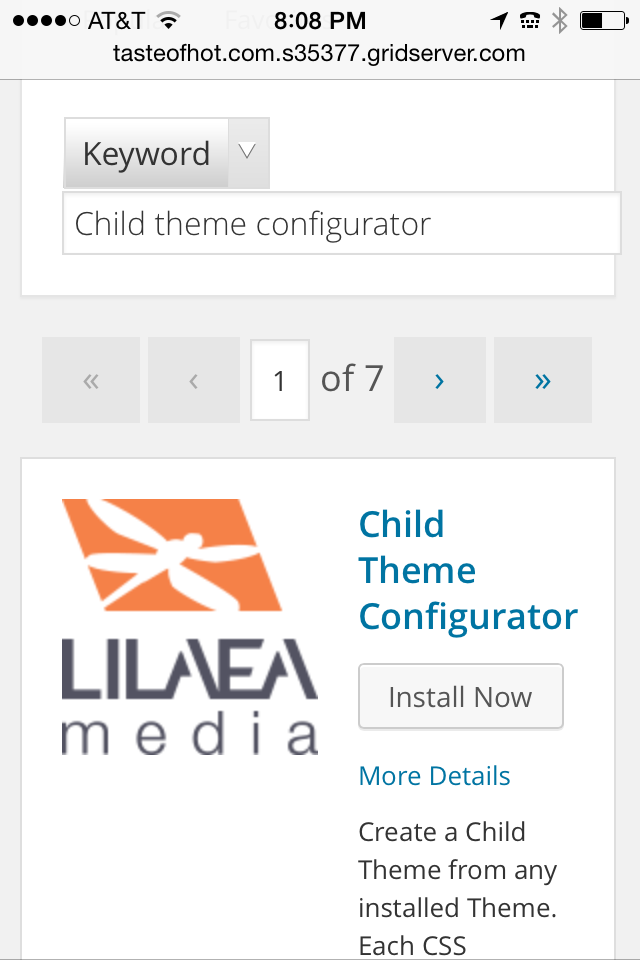
- Browse to the plugins area in your WordPress admin area.
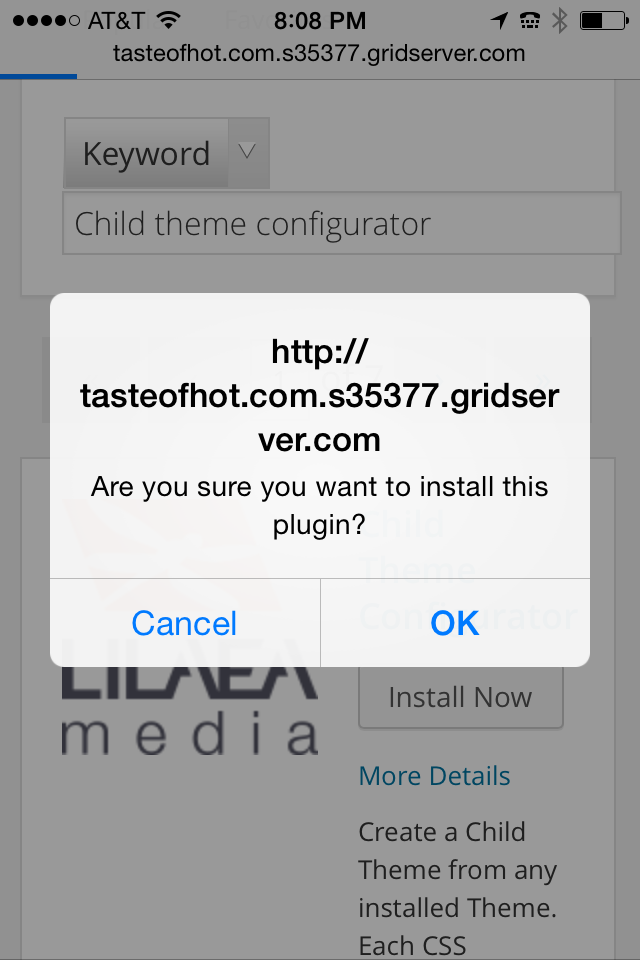
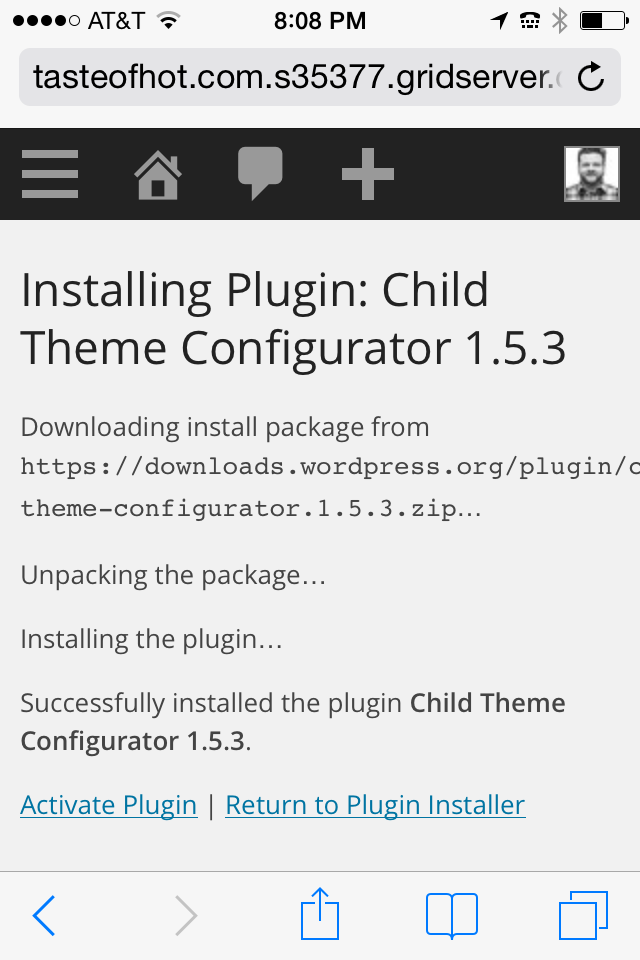
- Add New to search for and install Child Theme Configurator.
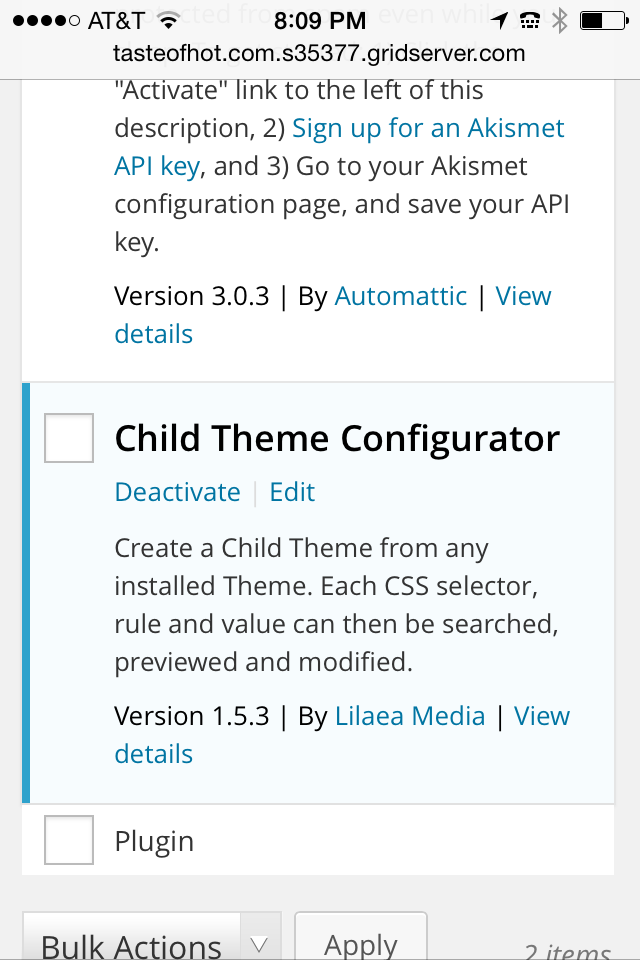
- Activate the new plugin after install.
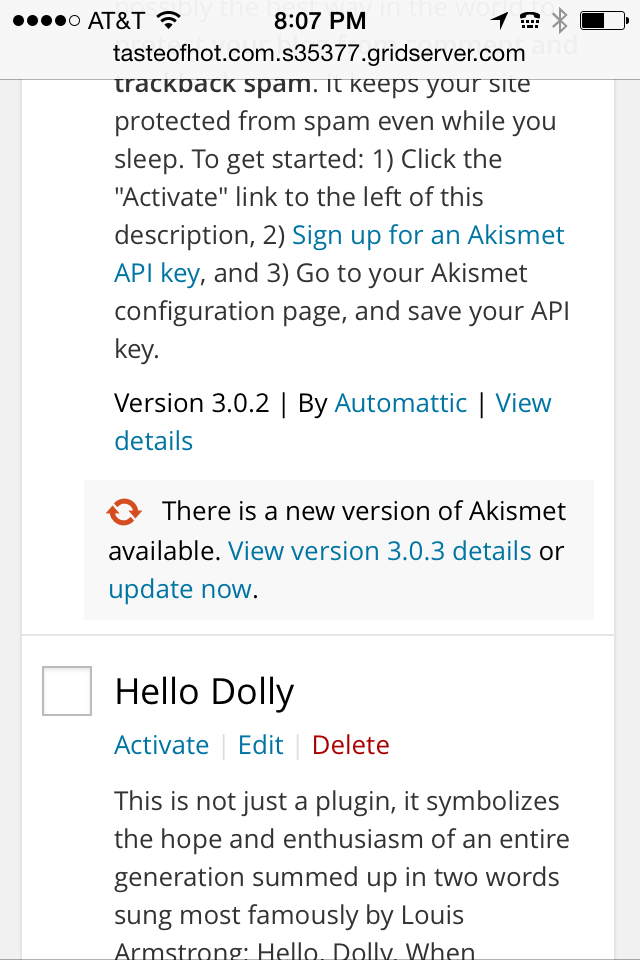
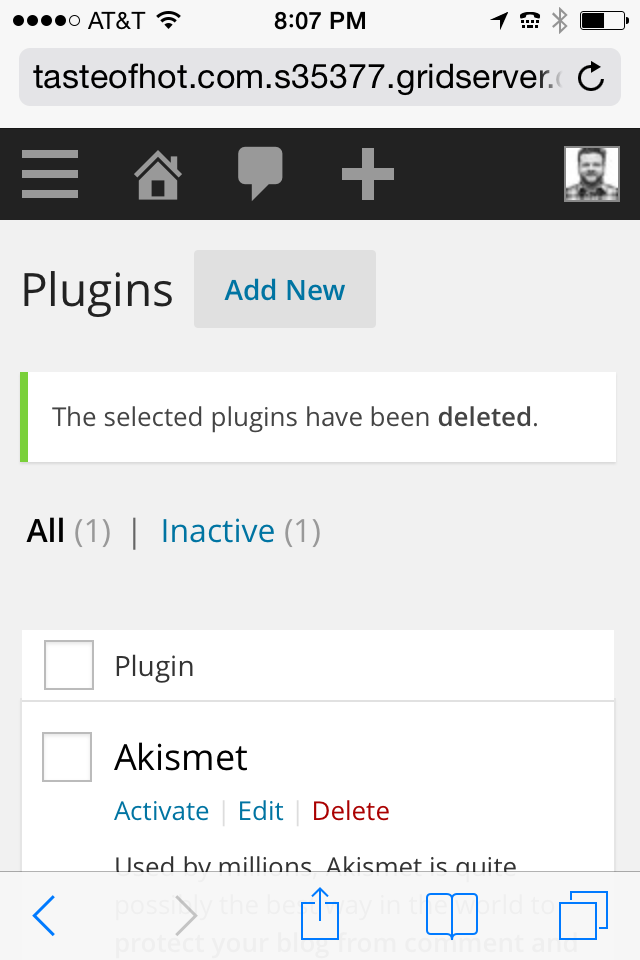
- Optionally, do some plugin cleanup and delete the Hello Dolly plugin.
- Optionally, install any security plugins. My favorites for a fresh install are Block Spam By Math Reloaded, Limit Login Attempts, Broken Link Checker, and Disqus to replace the native registration/commenting system.


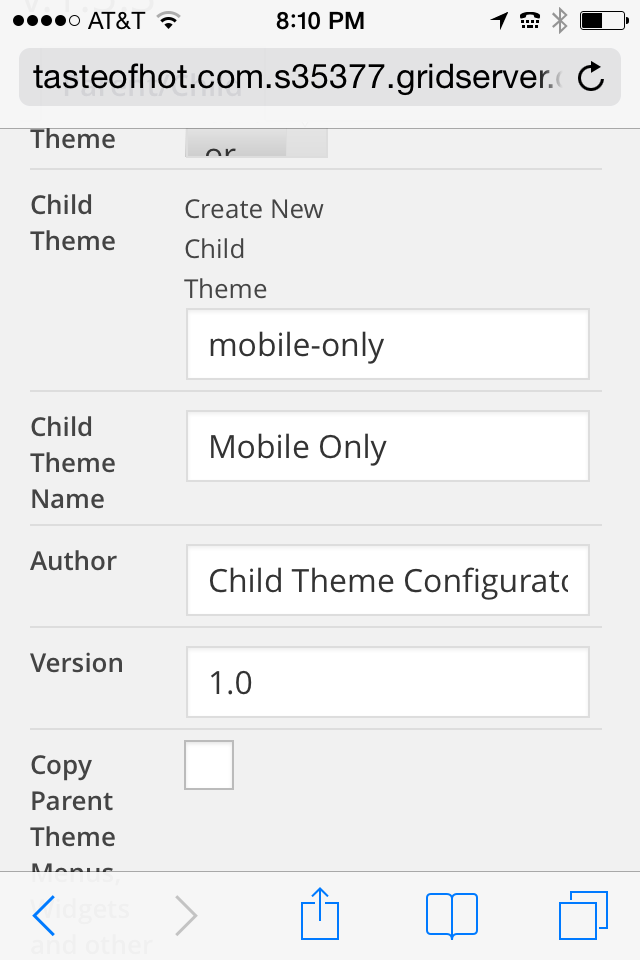
Use Child Theme Configurator:
- Under Tools > Child Themes, create a new theme.
- You need only add the slug and theme name. All other settings can remain default.
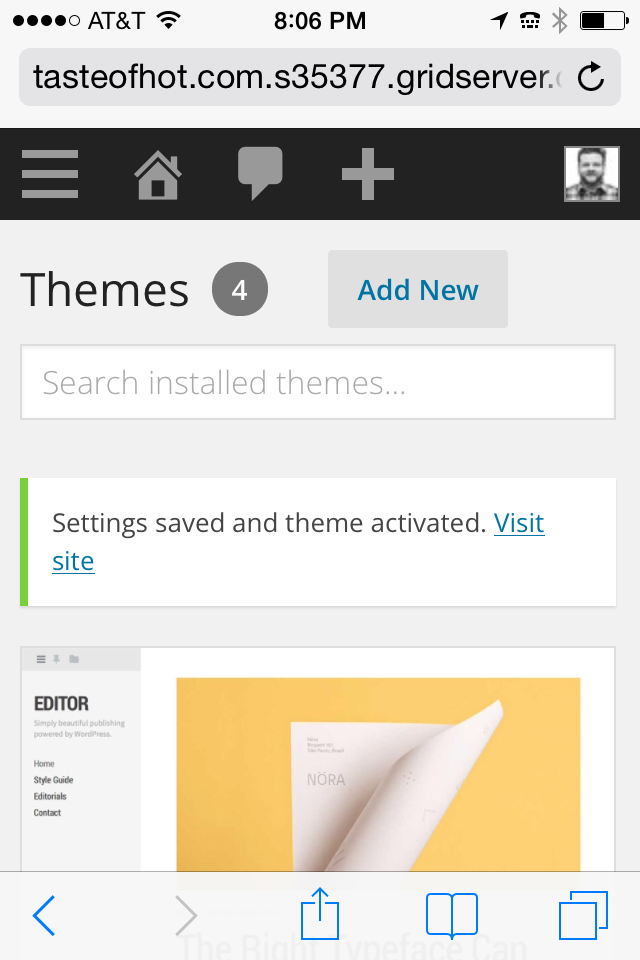
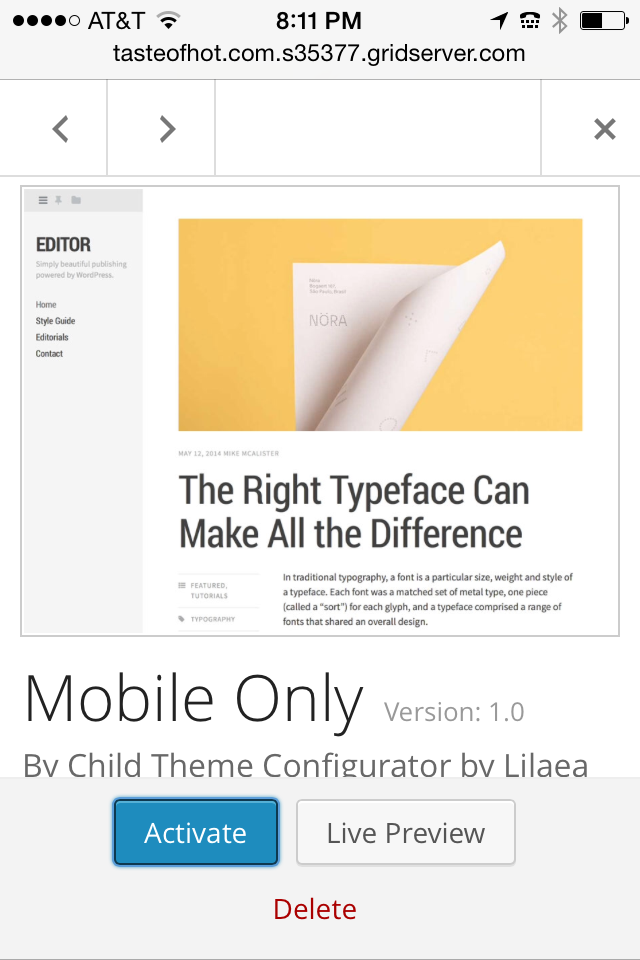
- Browse back to your theme management area to preview your child theme, set any metadata, and activate your new child theme that—for the moment—looks exactly as it did before.

Step 3: Modify your theme
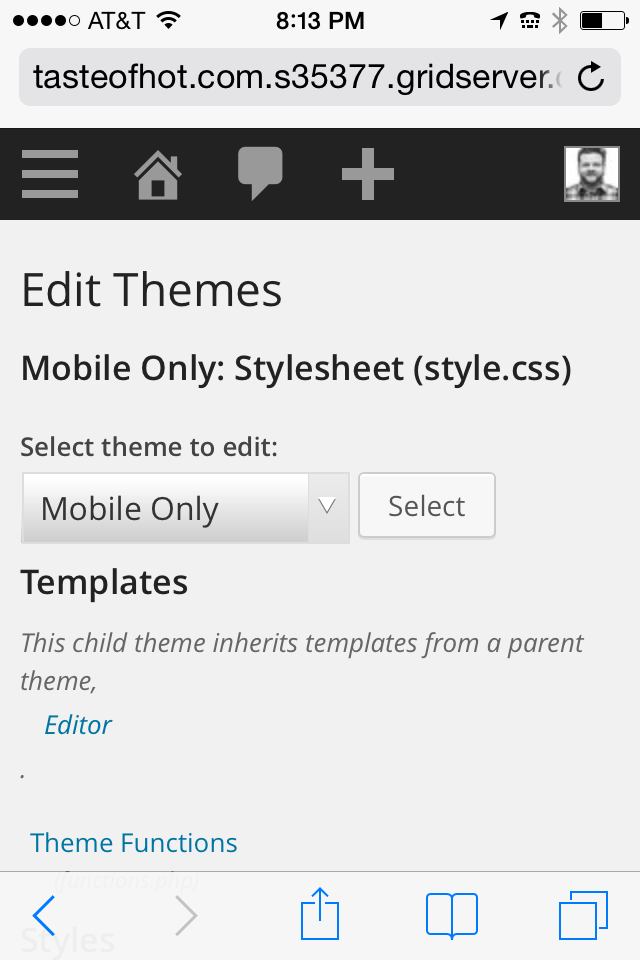
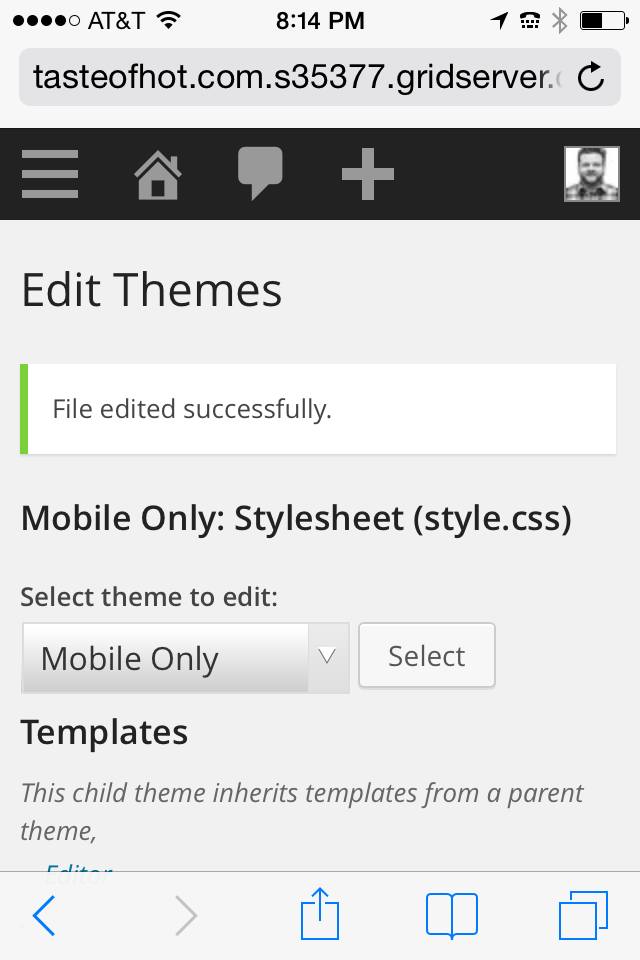
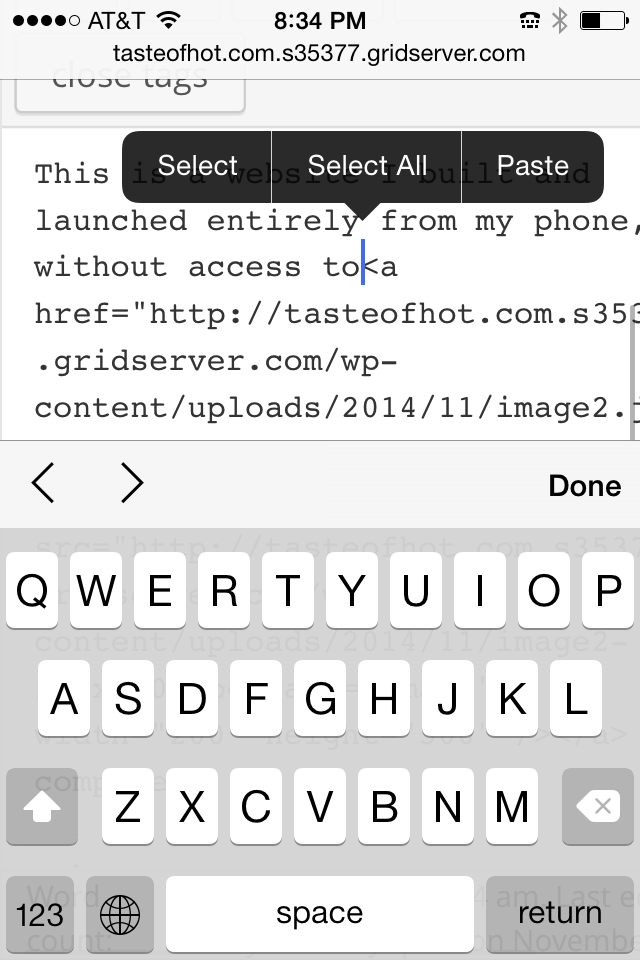
To customize the code o your new theme, again you could modify this via SSH, your hosting file manager, an FTP client, or other file management app. However, WordPress has a built-in editor included under Appearance > Editor. The downside of this approach, is of course version control, but this post won’t get into that.
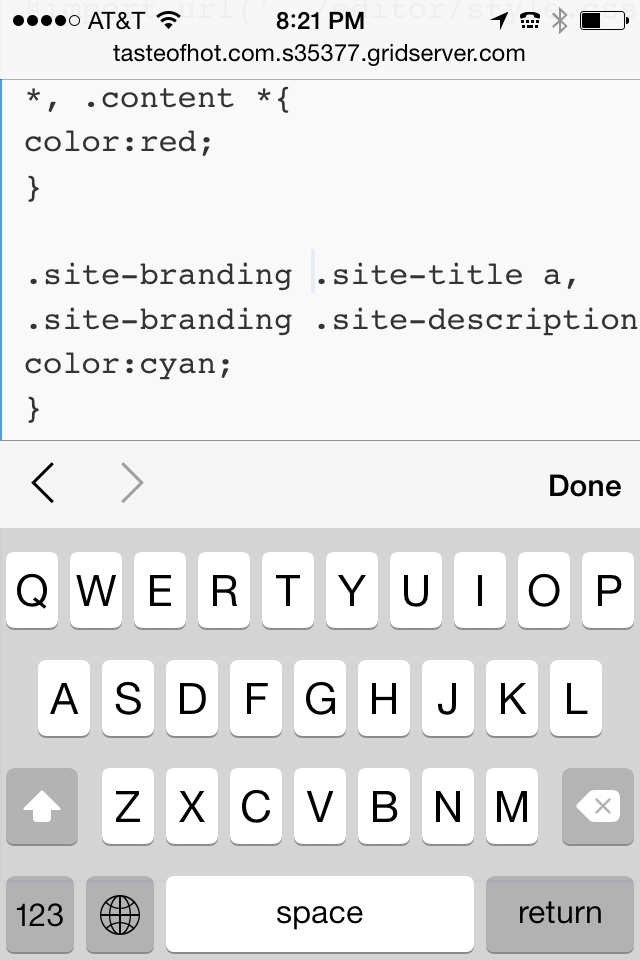
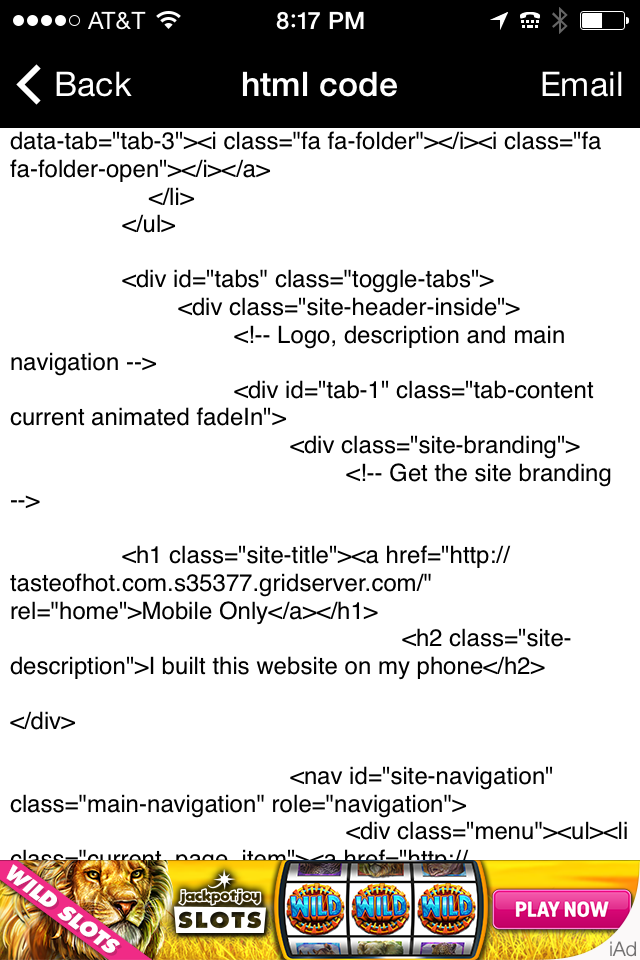
In my example, I simply changed a few font colors to demonstrate the capability. I used WebInspector to view source on my site and get class names to modify.


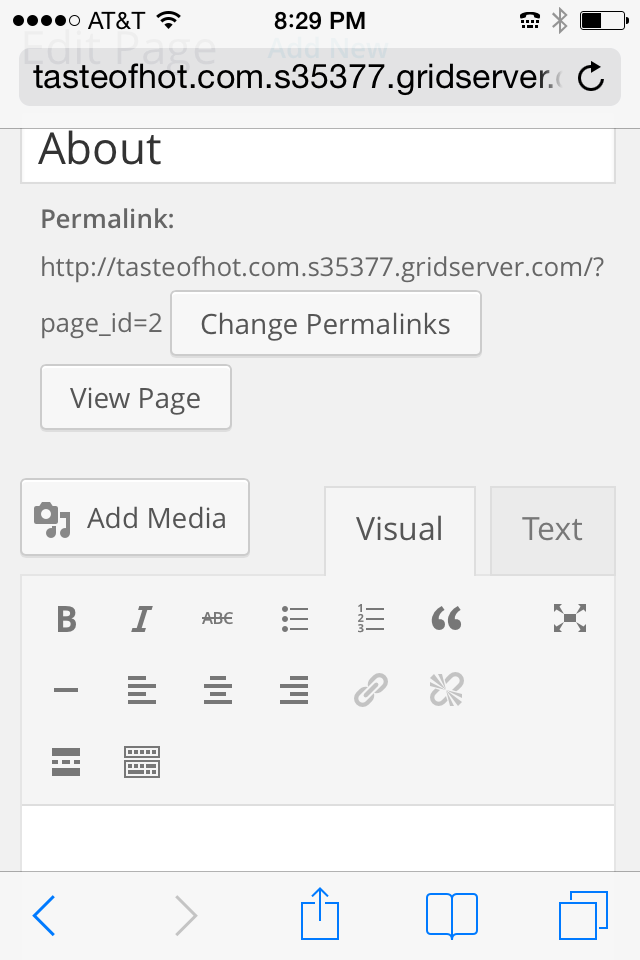
Publish your content
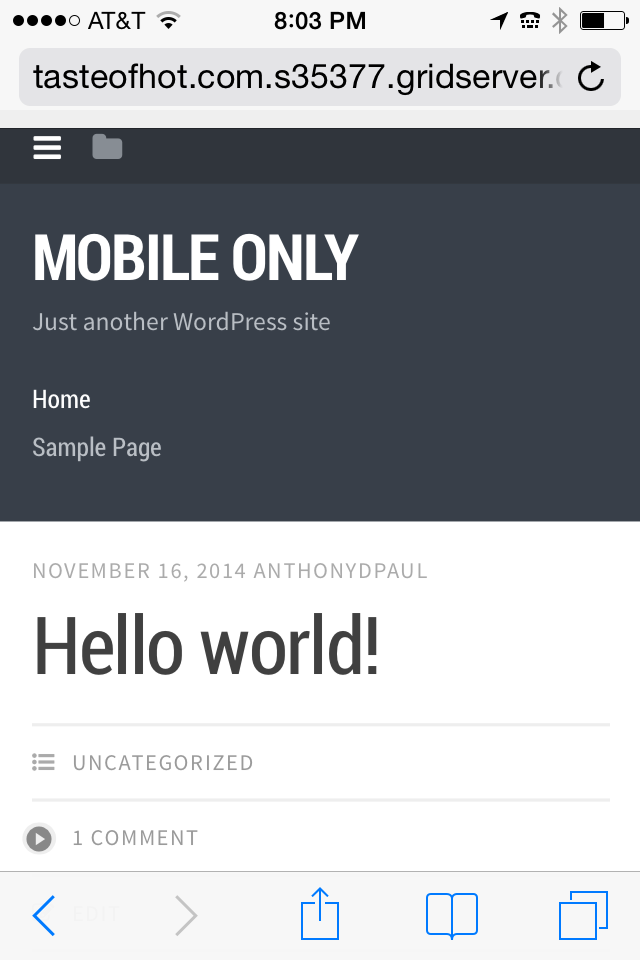
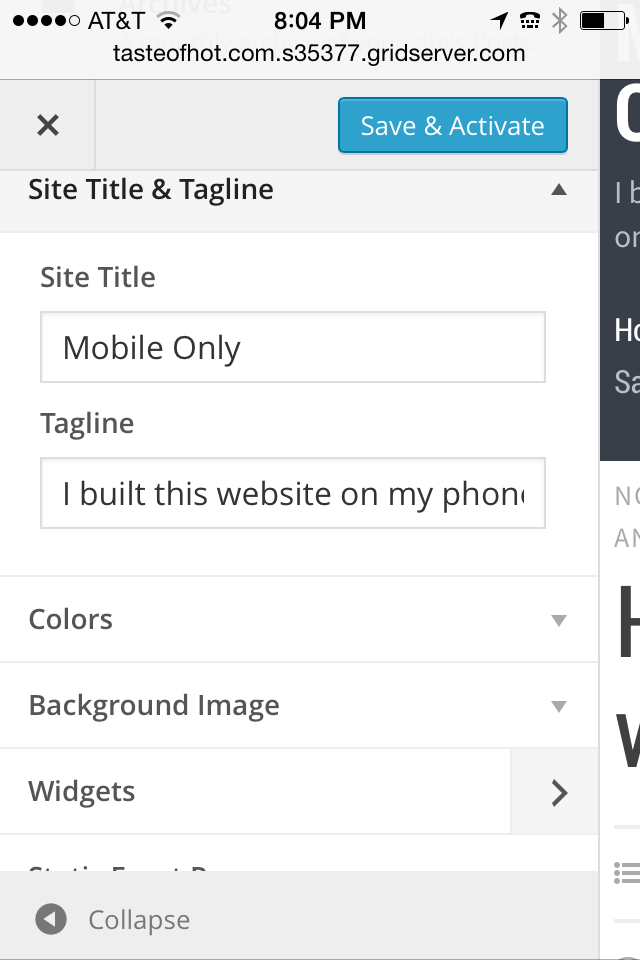
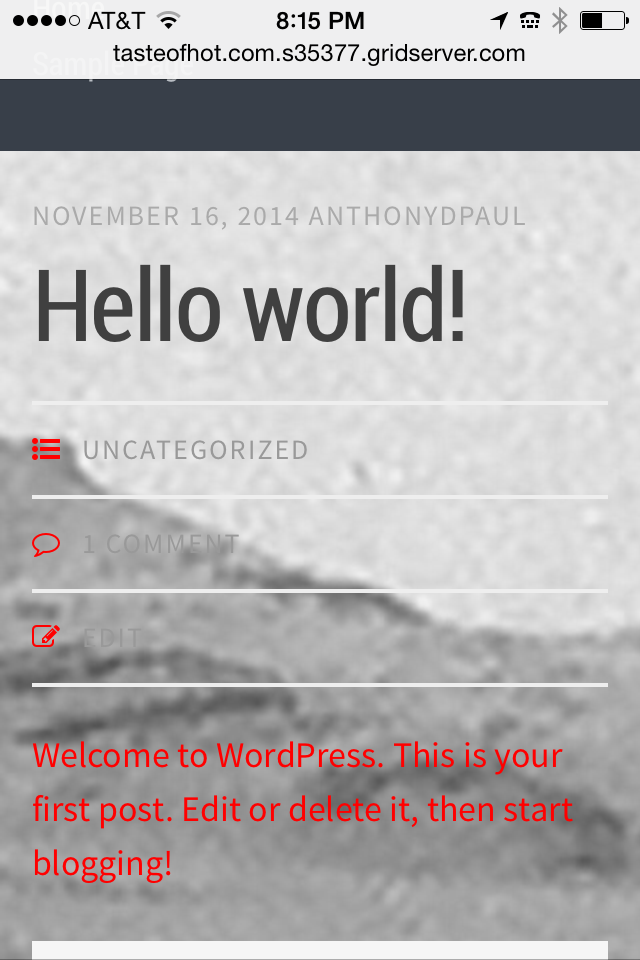
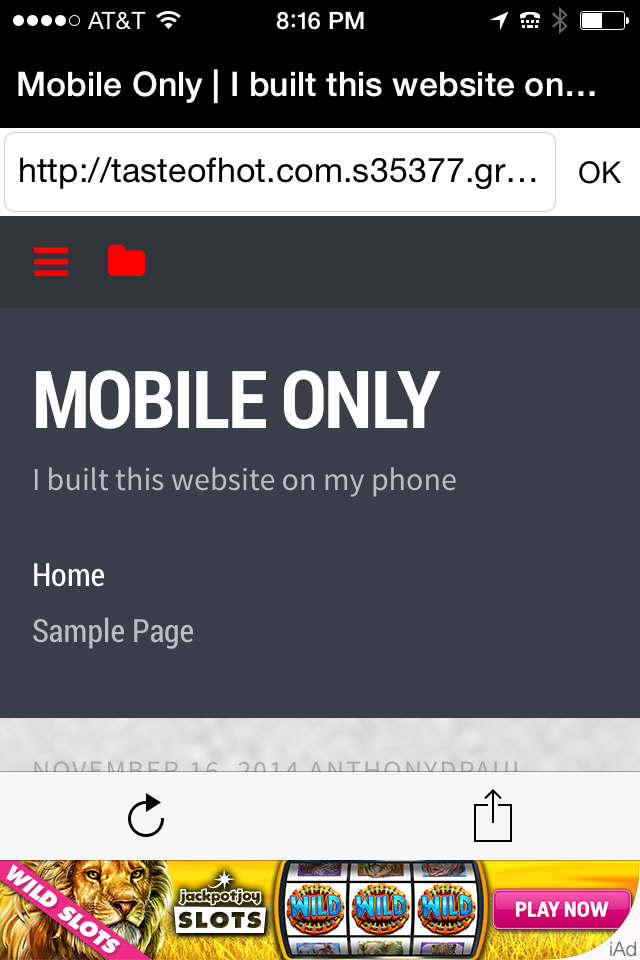
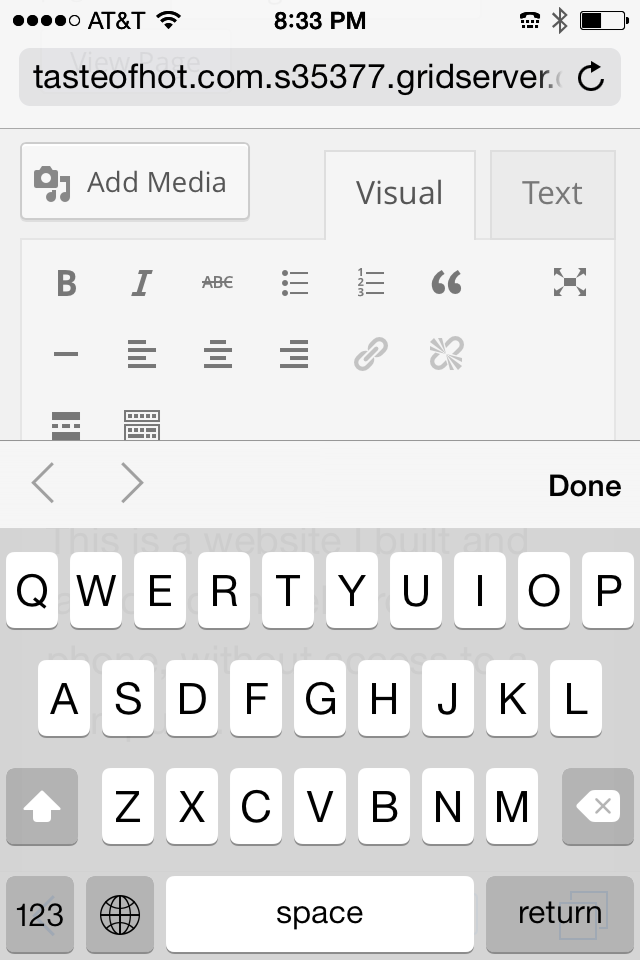
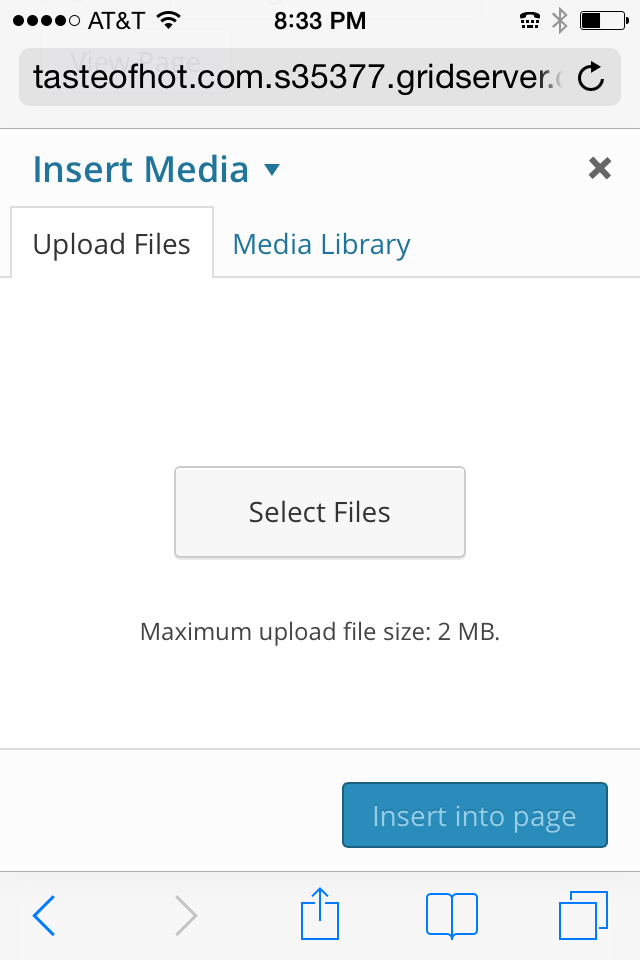
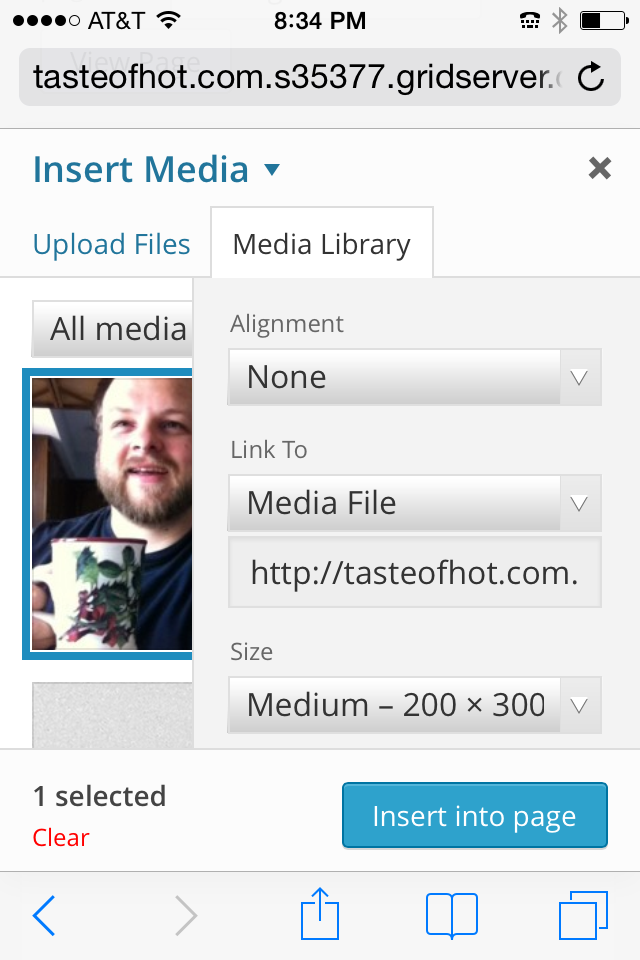
The last thing I did to prove this is possible end-to-end is, of course, publish some content. By default, WordPress creates one placeholder page and one blog post. I updated both to be information about this website and even added a photo from my phone via WordPress’ built-in media management.
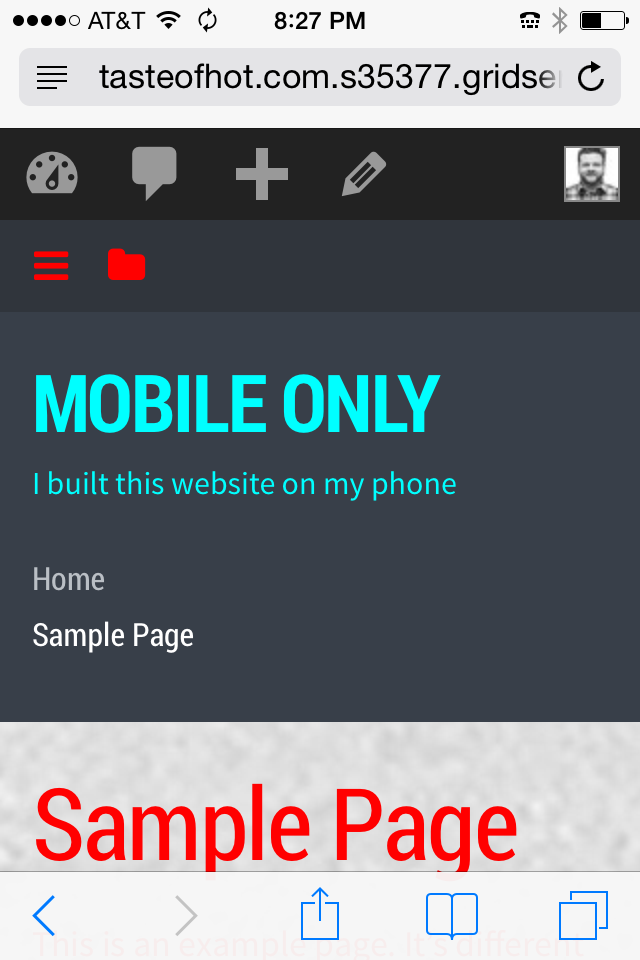

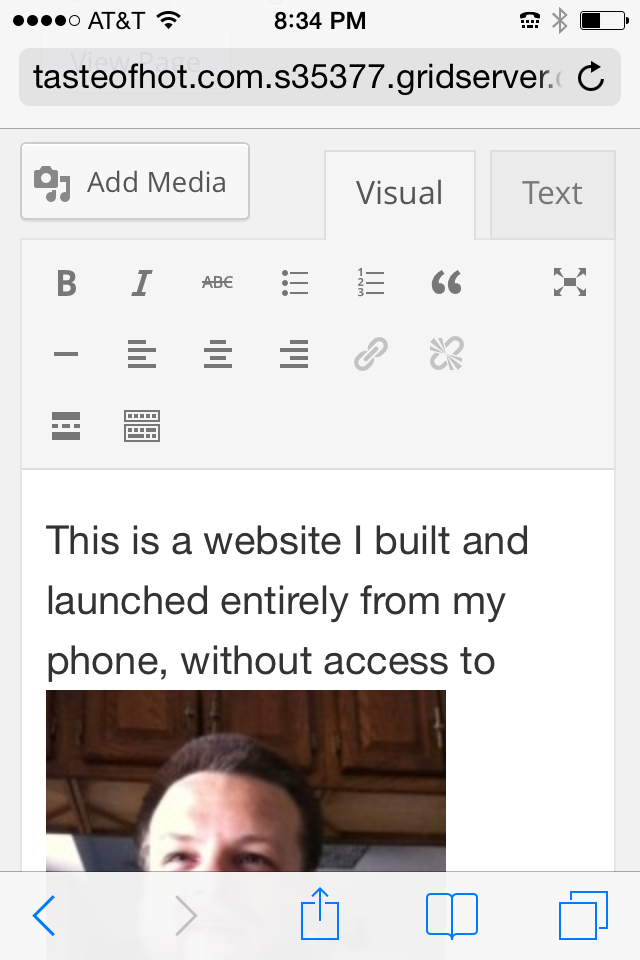
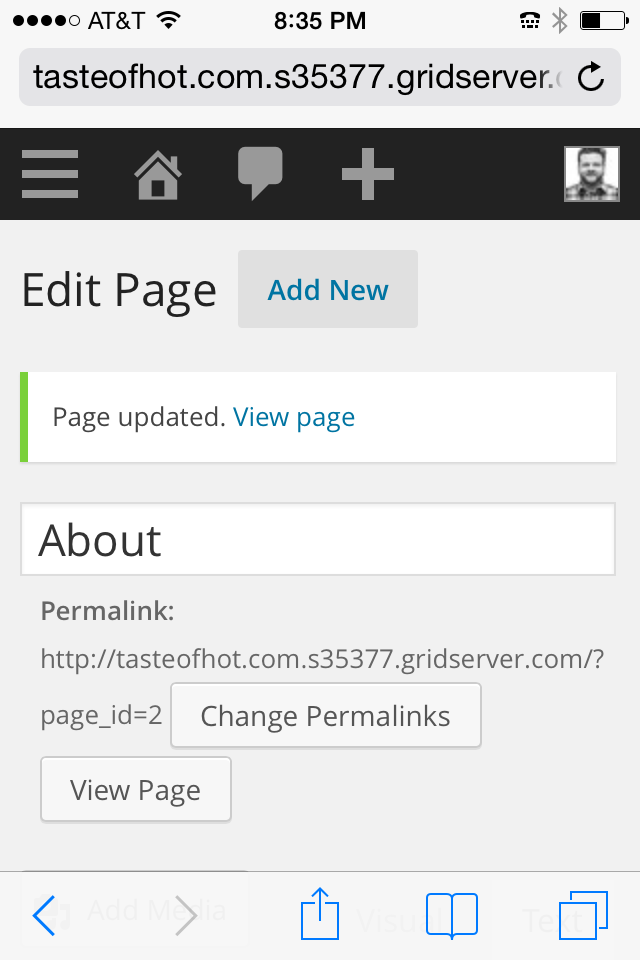

It’s not the most gorgeous of sites with only a few minutes of theme customization, but you’ll see it works as expected. Imagine sitting on a bus, building a website, and drafting a blog post. That’s what we just accomplished: http://tasteofhot.com.s35377.gridserver.com
Conclusion
When I originally considered this experiment, I was pretty sure it was possible, but I didn’t imagine how easy it would actually be. This is a long article because I wanted to have enough detail and screenshots in here for you to easily reproduce—but in reality if you are familiar with WordPress and the command line, the process was quite trivial. Add to that all of the mobile-friendly administration interfaces within the last calendar year and we’ve reached a pivot point, where tools will only continue to better, become more sophisticated, and increase efficiency.
We’re on the cusp of a fascinating and scary change—away from the mouse and keyboard mental models we’re used to. For more information on where we’re headed, read Part 1 (below) of this pair of articles, where I show how demand for this type of website and designer will only increase for a multitude of reasons.